El Radar Viewpoint Hike
In Isabela, Galapagos
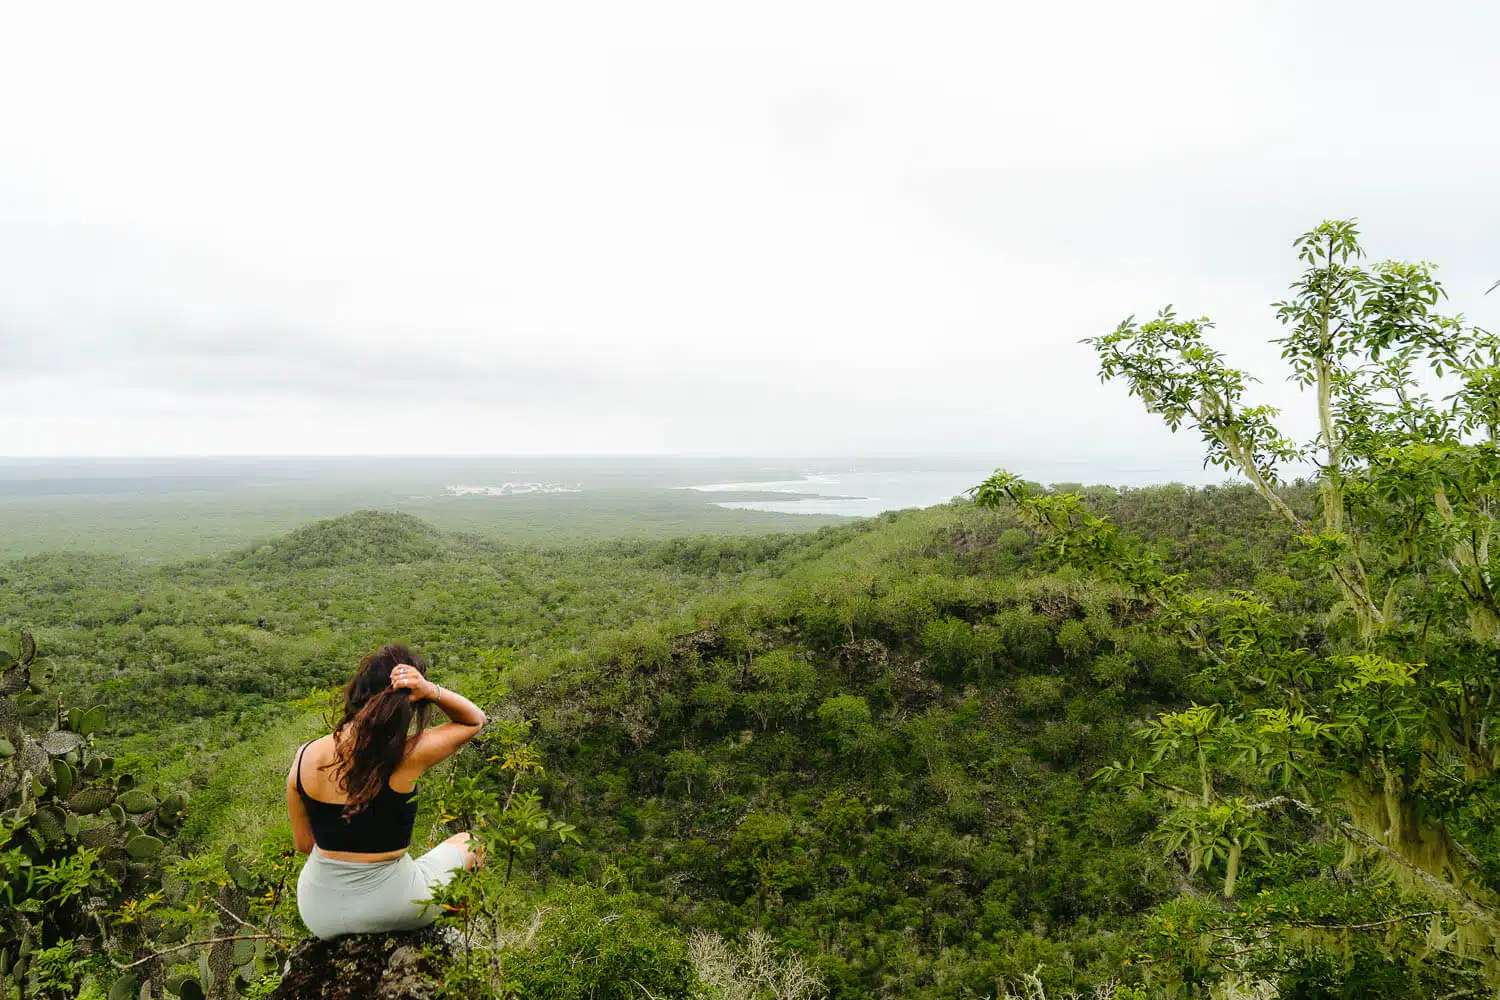
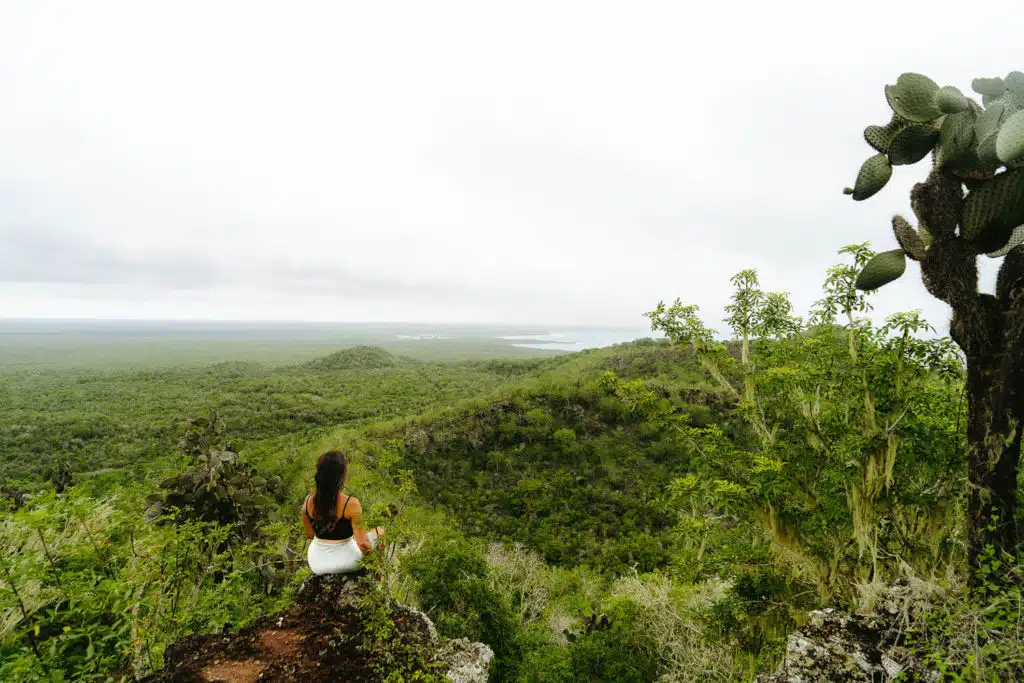
The El Radar Viewpoint hike in Isabela Island is a short but beautiful hike you can do after arriving at the Wall of Tears.
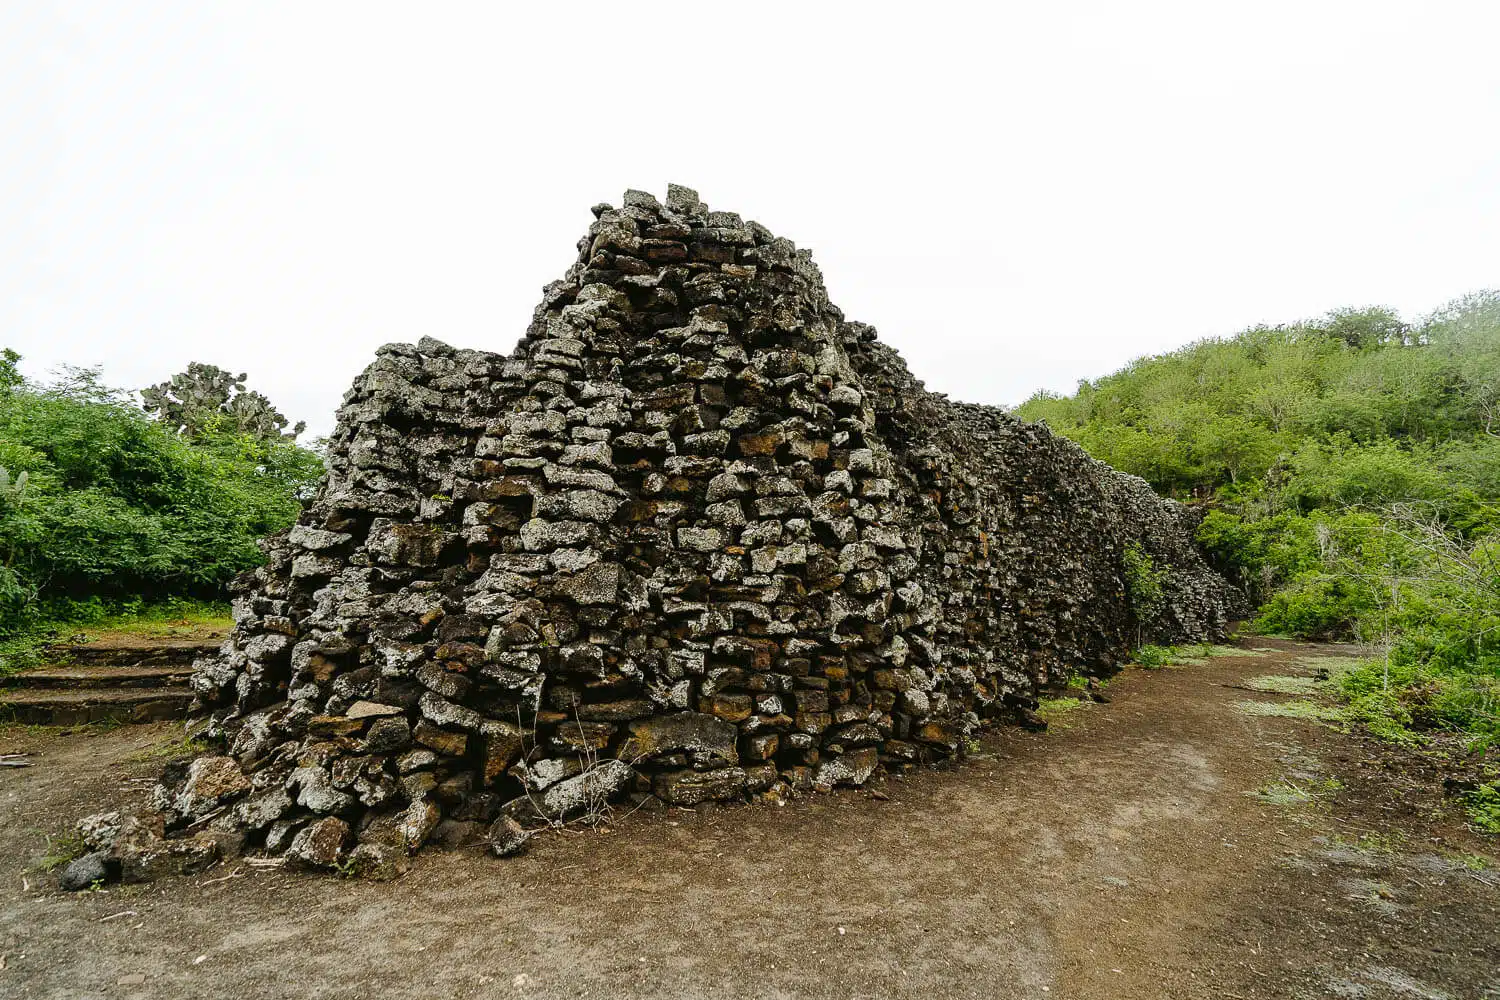
The Wall of Tears is a stone wall built between 1946 and 1959 by inmates of the former Isabela Penitentiary Colony. Here hundreds of prisoners were forced to work under extreme circumstances. They built this wall for no other purpose than to be punished. While enduring this hardship many people died.
On your way to El Radar Viewpoint, there are other beautiful viewpoints like the Wall of Tear’s viewpoint, some meters after the wall.
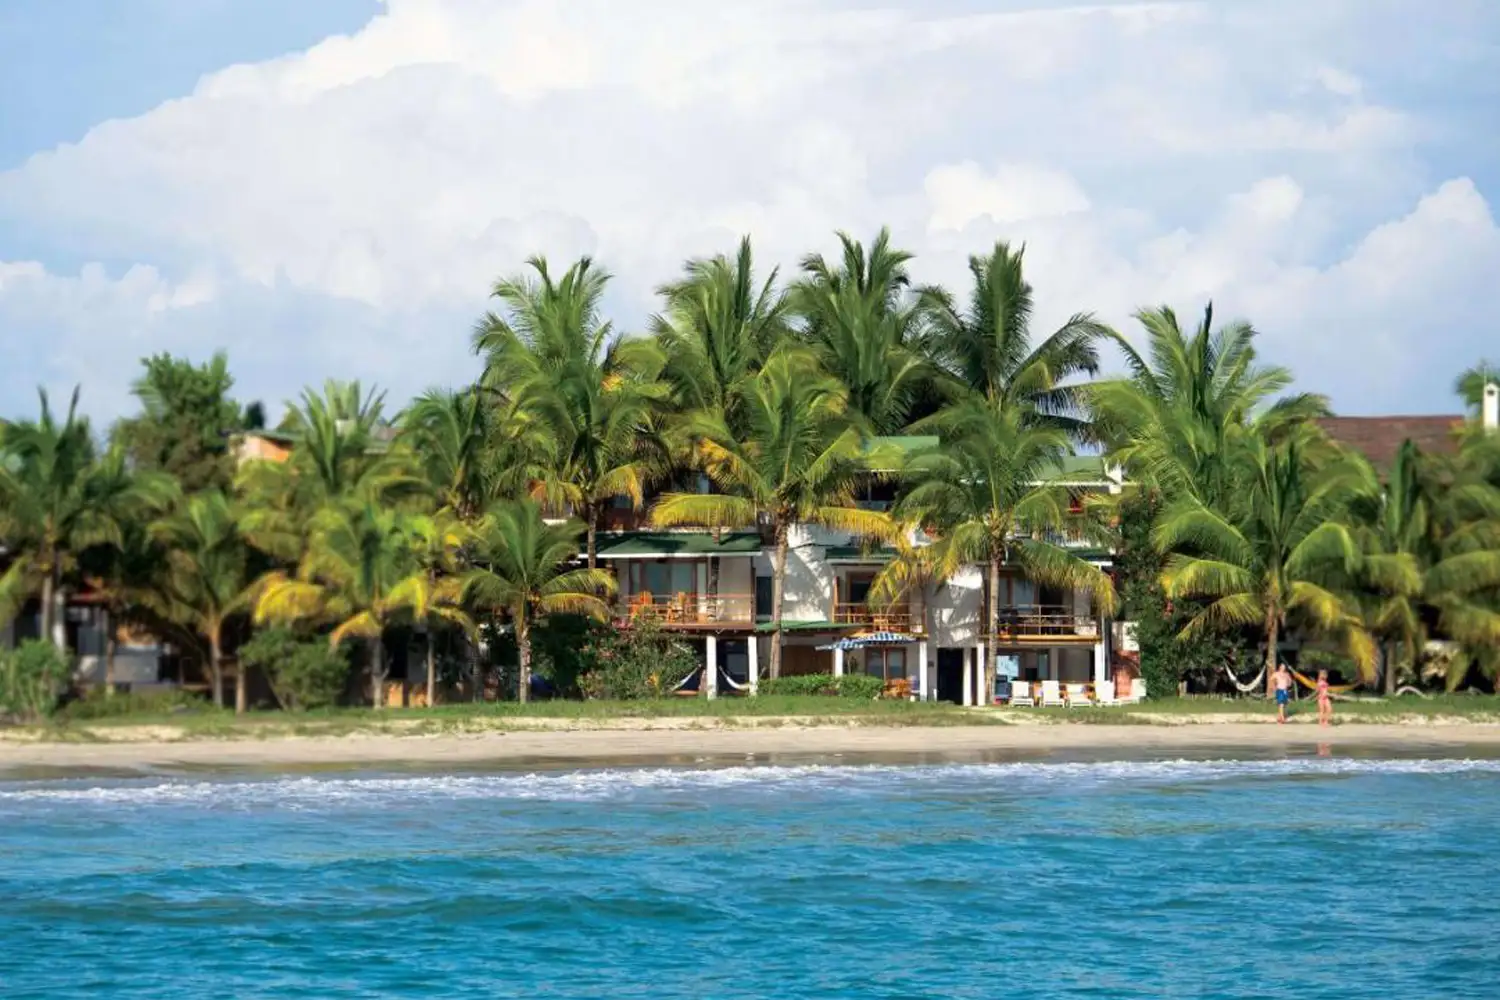
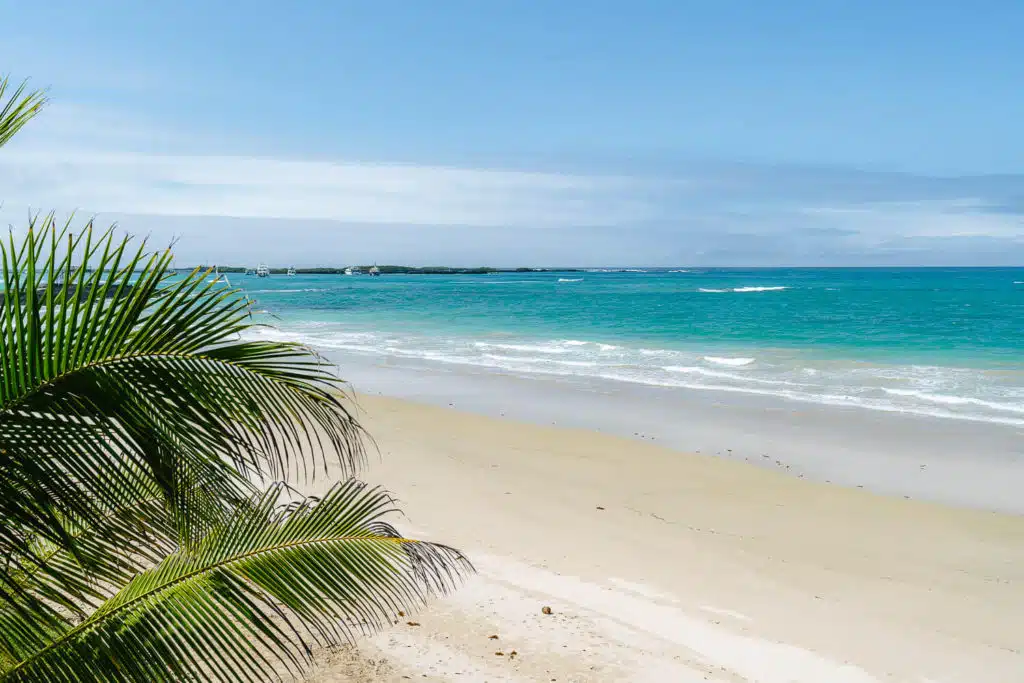
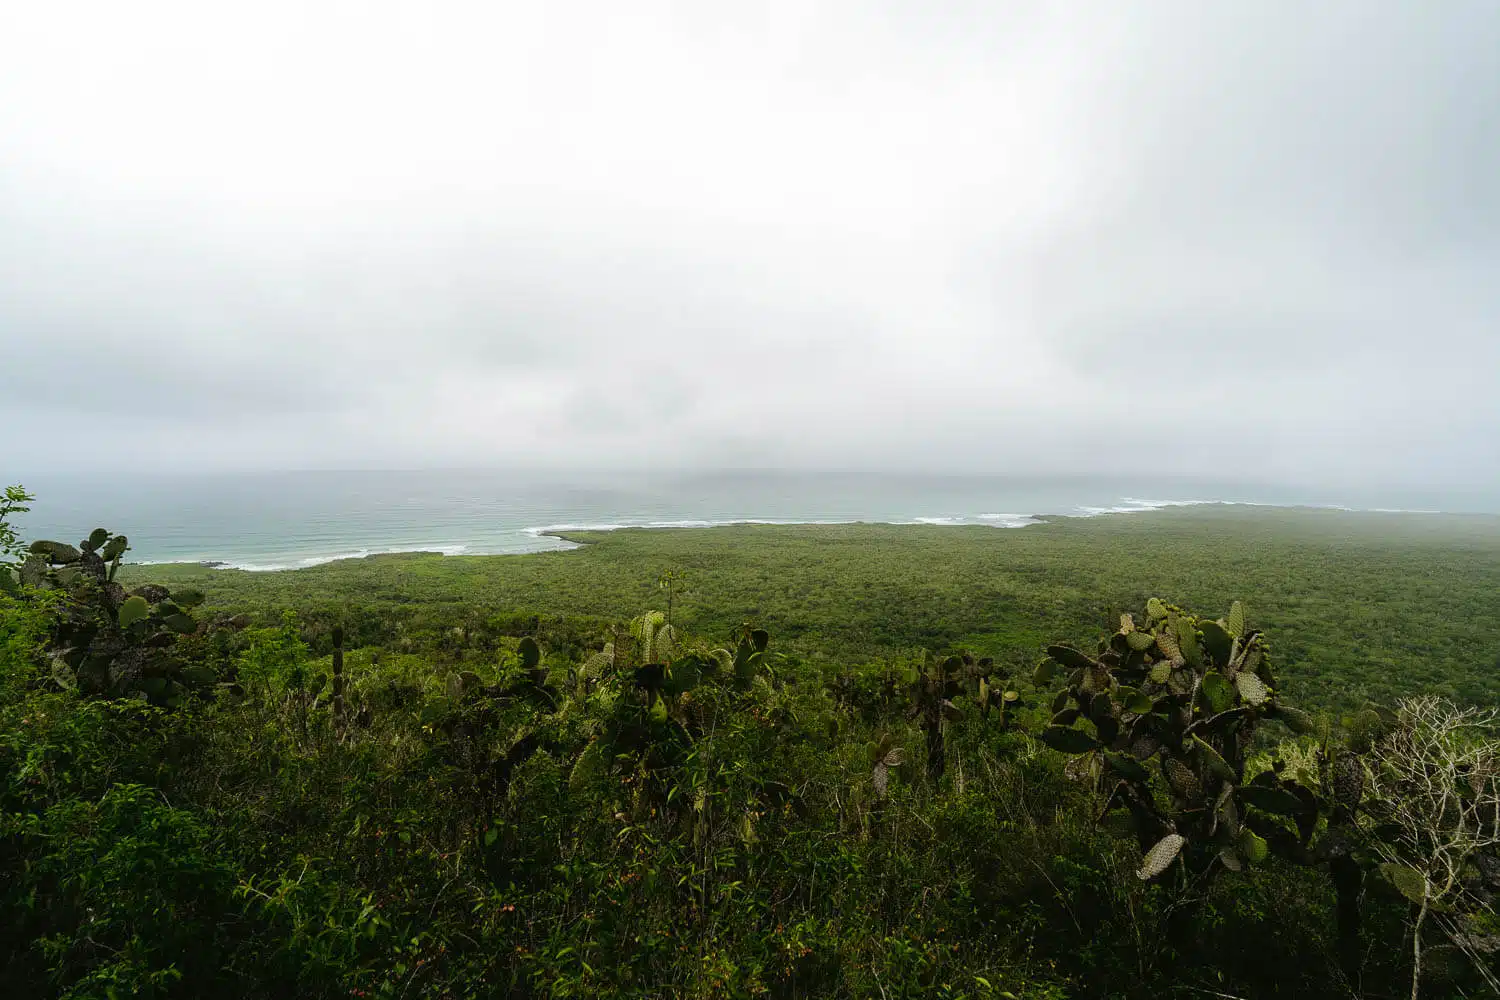
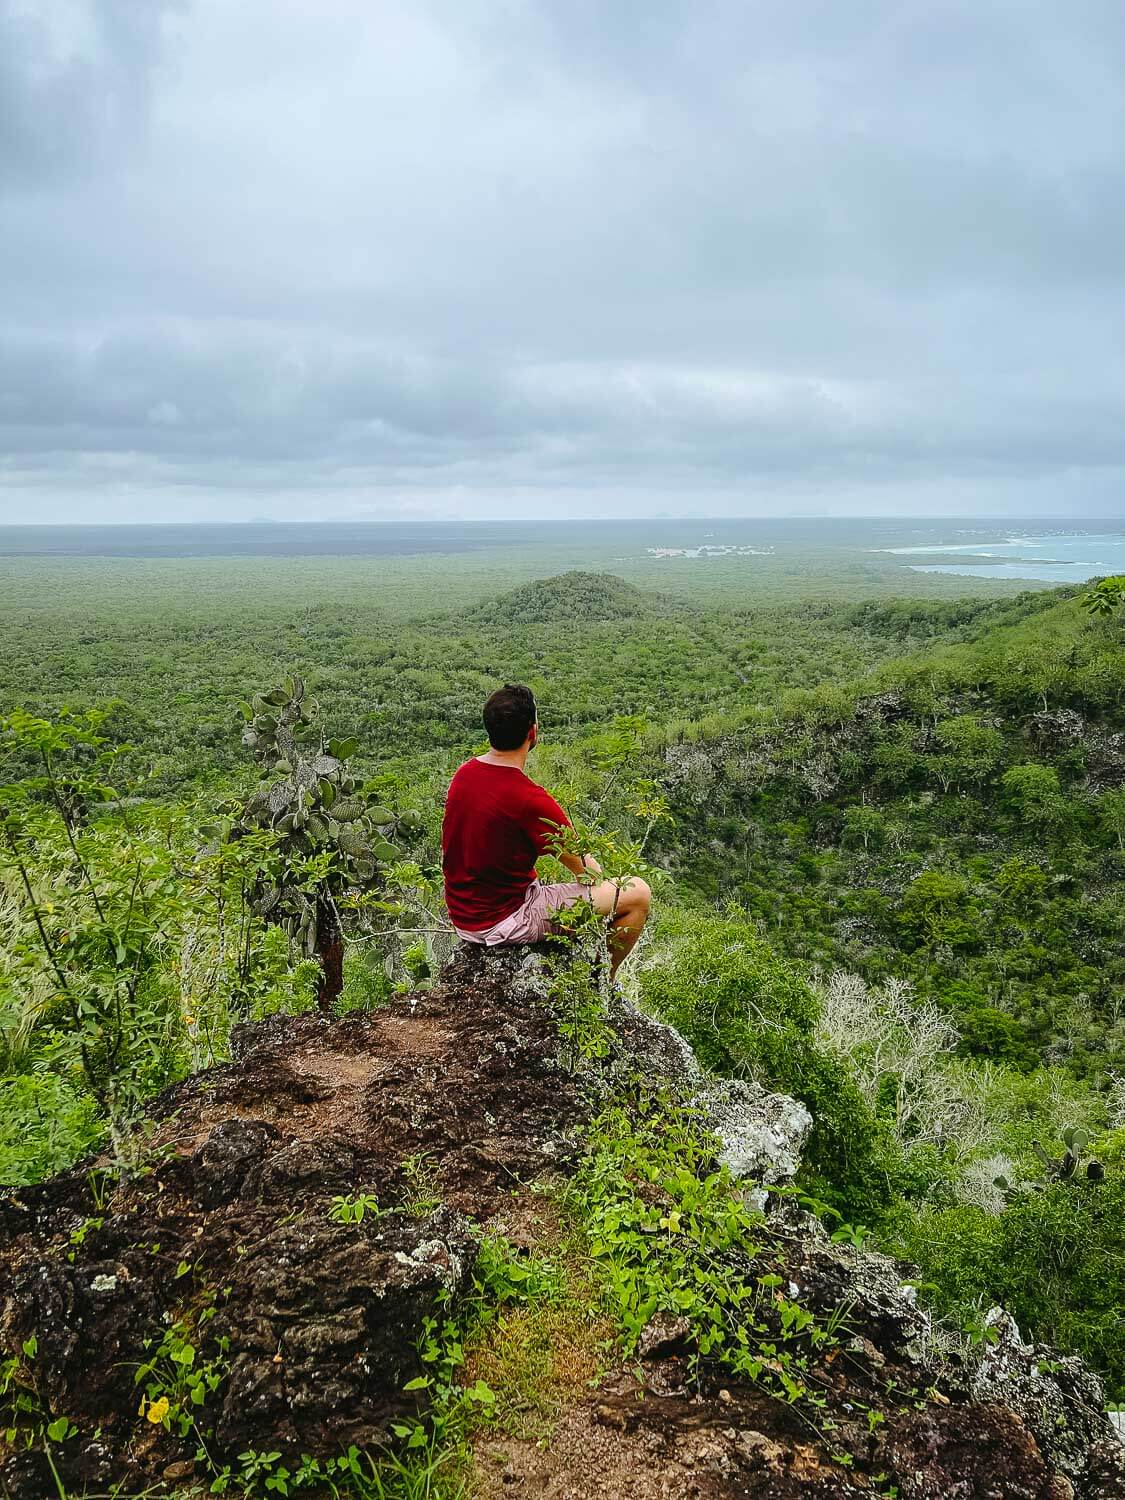
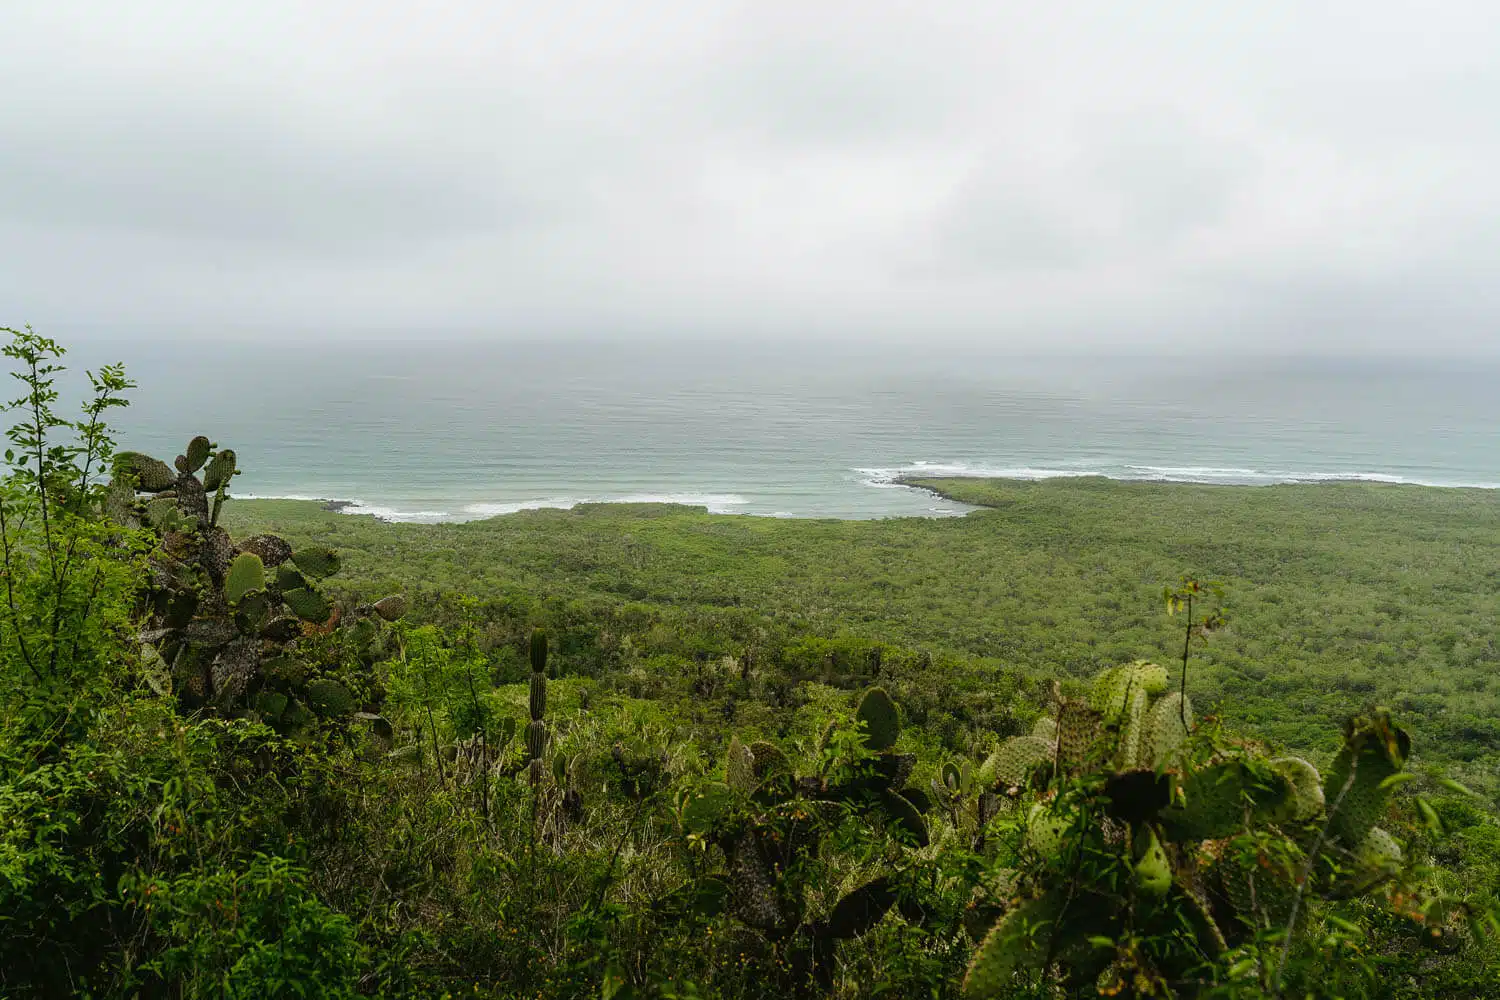
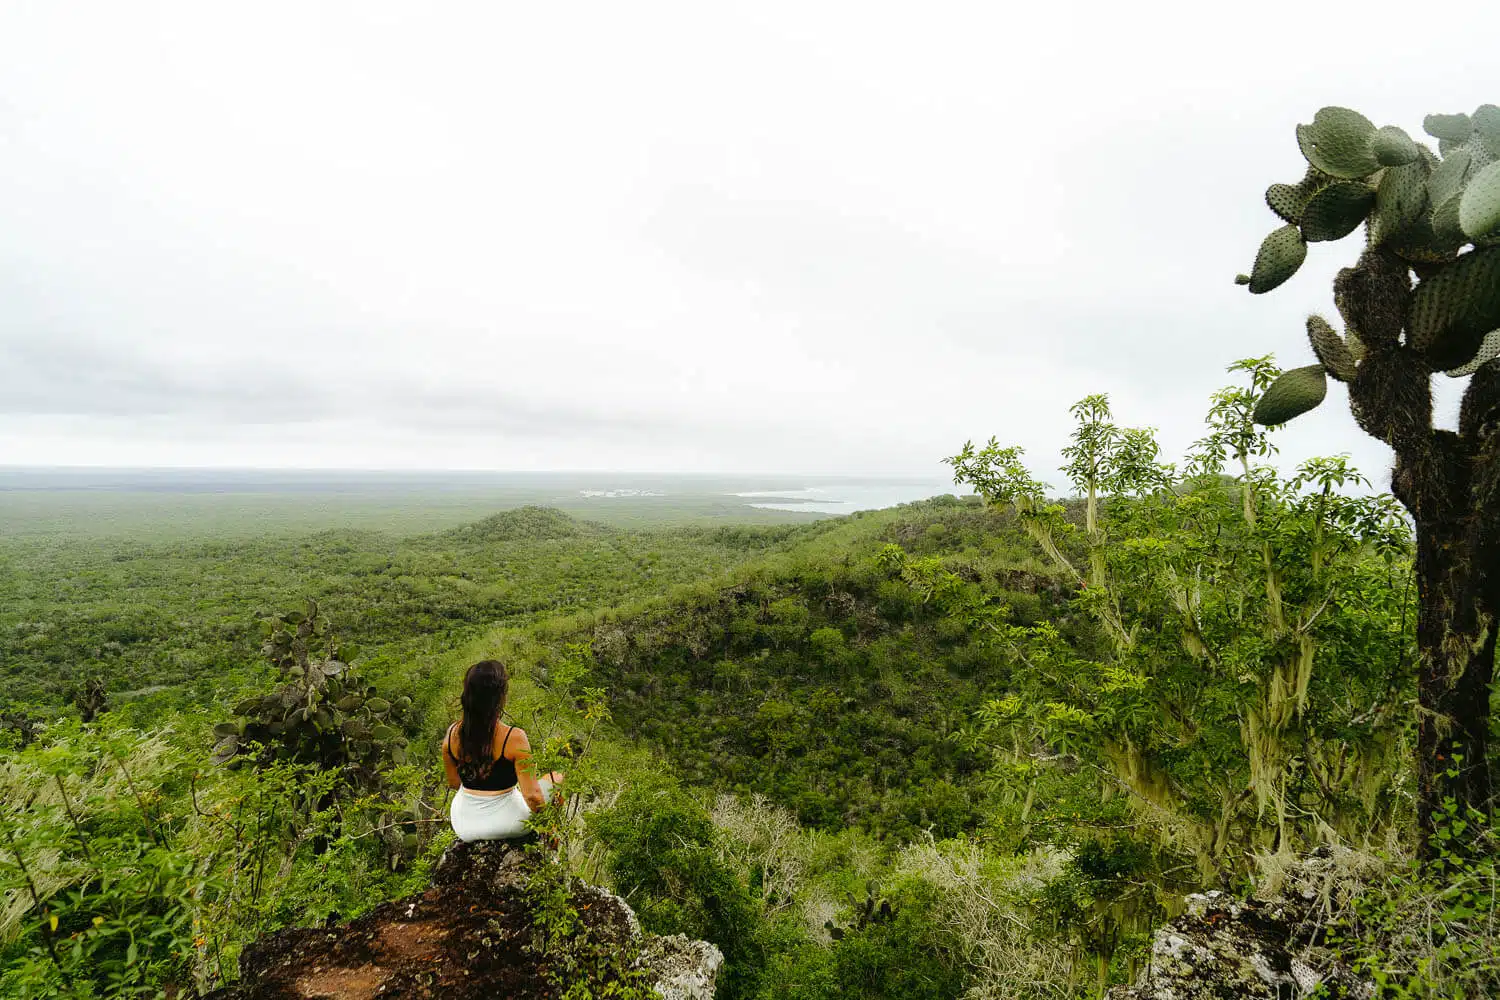
From all of them, you can have a beautiful view of Isabela island’s beachfront and its green landscape.
Travel Guide, Itineraries, Map, Local Tips
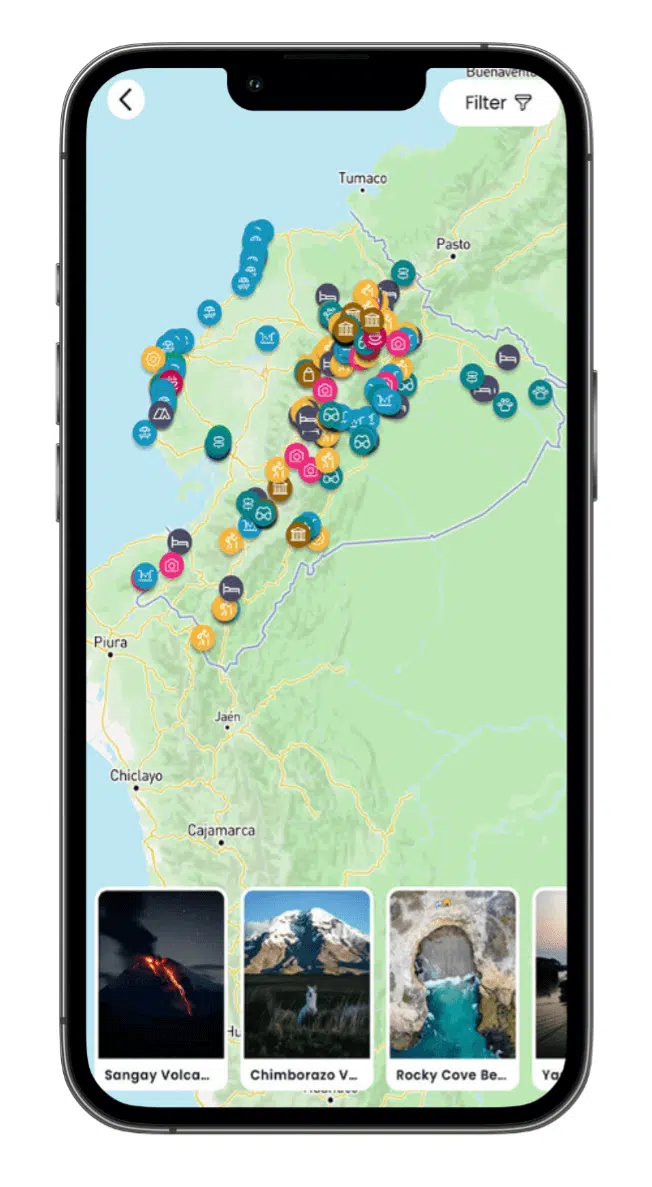
Get access to my curated list of all the best viewpoints, hiking trails, secret waterfalls, diving spots, wildlife tours, accommodations, and more, that will make your trip to Ecuador and The Galapagos unforgettable.
All of this, in an interactive guide featuring a mobile-friendly map, pre-designed itineraries, all my favourite photos, and helpful travel tips to guide your journey in this amazing unexplored country.
If you want personalized advice write me in-app and we can plan it together.

El Radar Viewpoint Hike: General Details
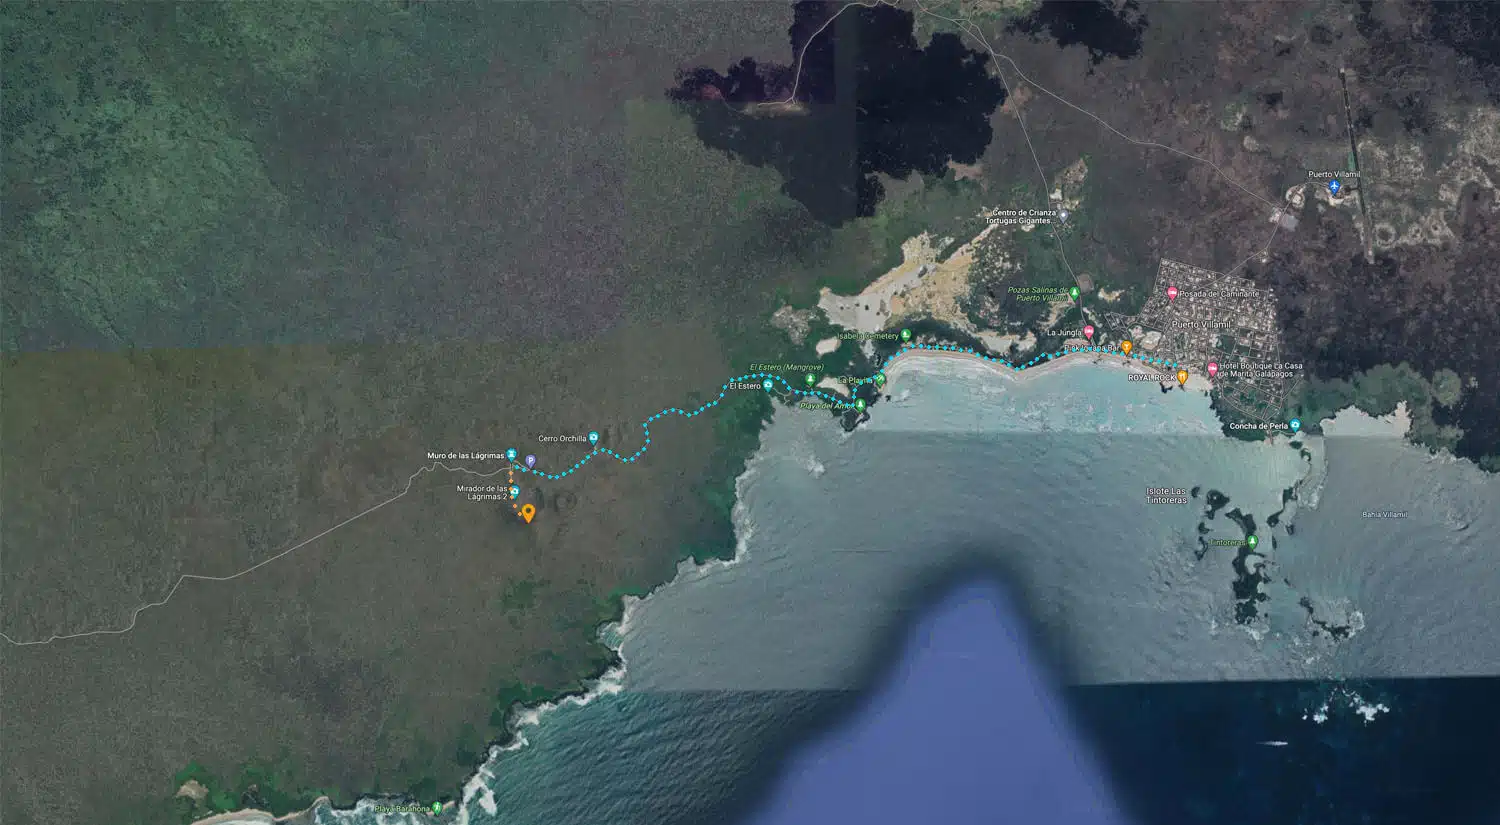
To do the El Radar Viewpoint hike in Isabela Island you first have to reach the Wall of Tears and then hike for around 30 mins.
- Highlights: Wall of Tears Viewpoint, El Radar Viewpoint.
- Opening Hours: 6h – 18h (Humedales park)
- Duration w/ Wall of Tears bike ride: Around 4 hours (including pauses).
- Bike rental price: 15-20$ USD per day (optional).
- Agency/Guide: None.
If you want some more information please check the official Isabela island website.
El Radar Viewpoint Hike: Technical Details
- Type: Out-and-Back Trail.
- Starting Point: Wall of Tears
- Distance: 1.5 km (both ways).
- Duration: 1 hour of moving time, 2 hours counting the small breaks for snacking and photography.
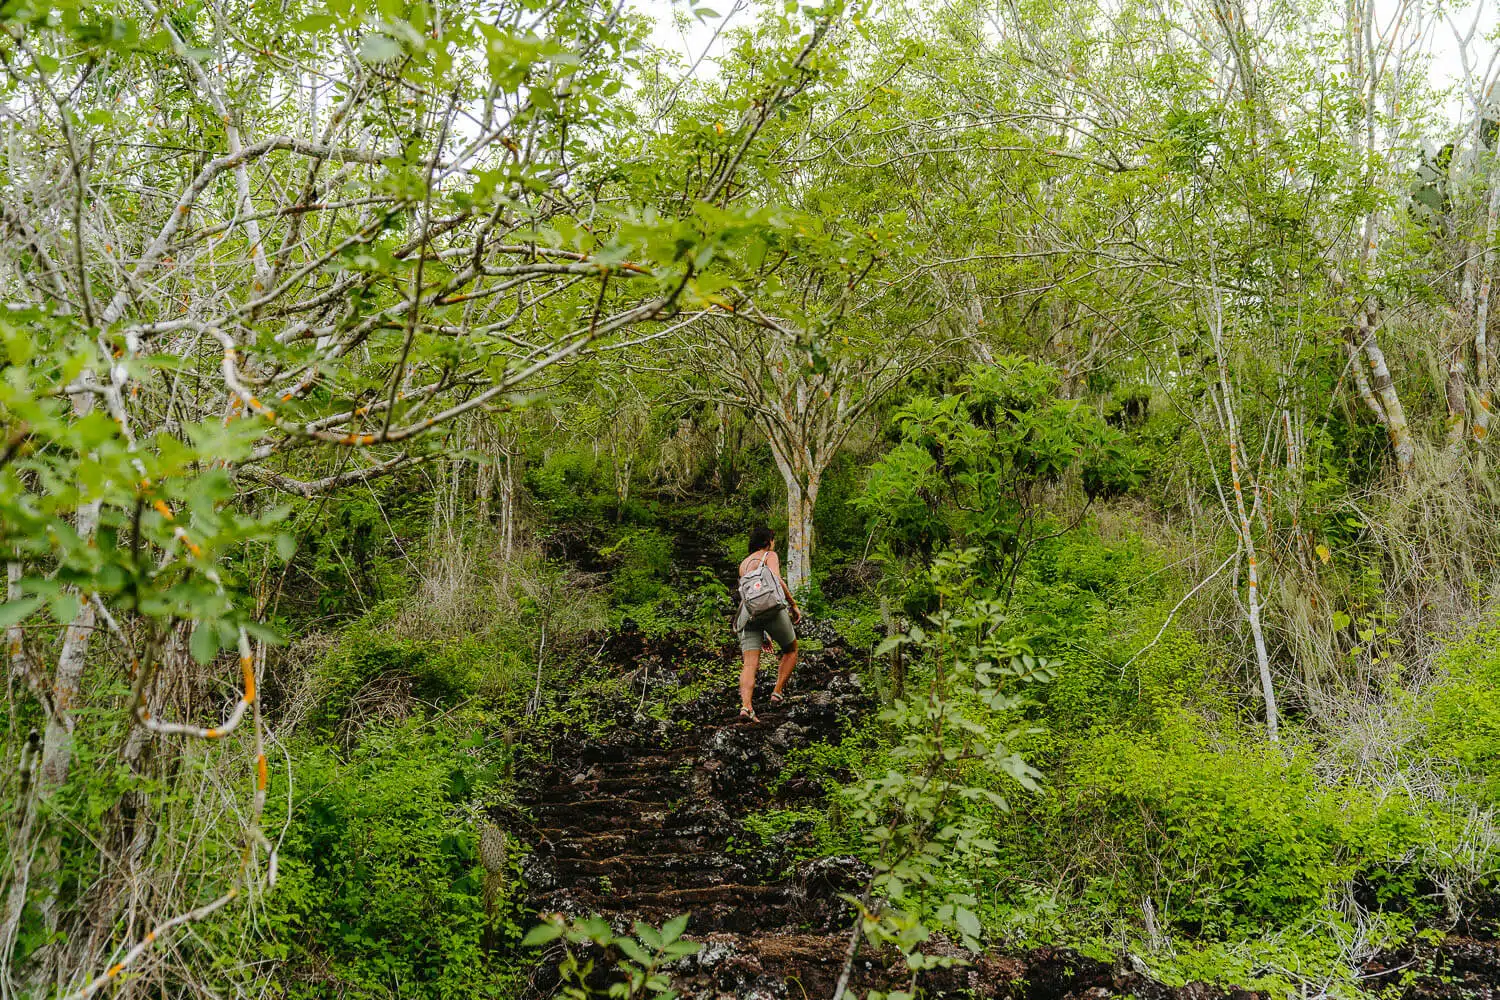
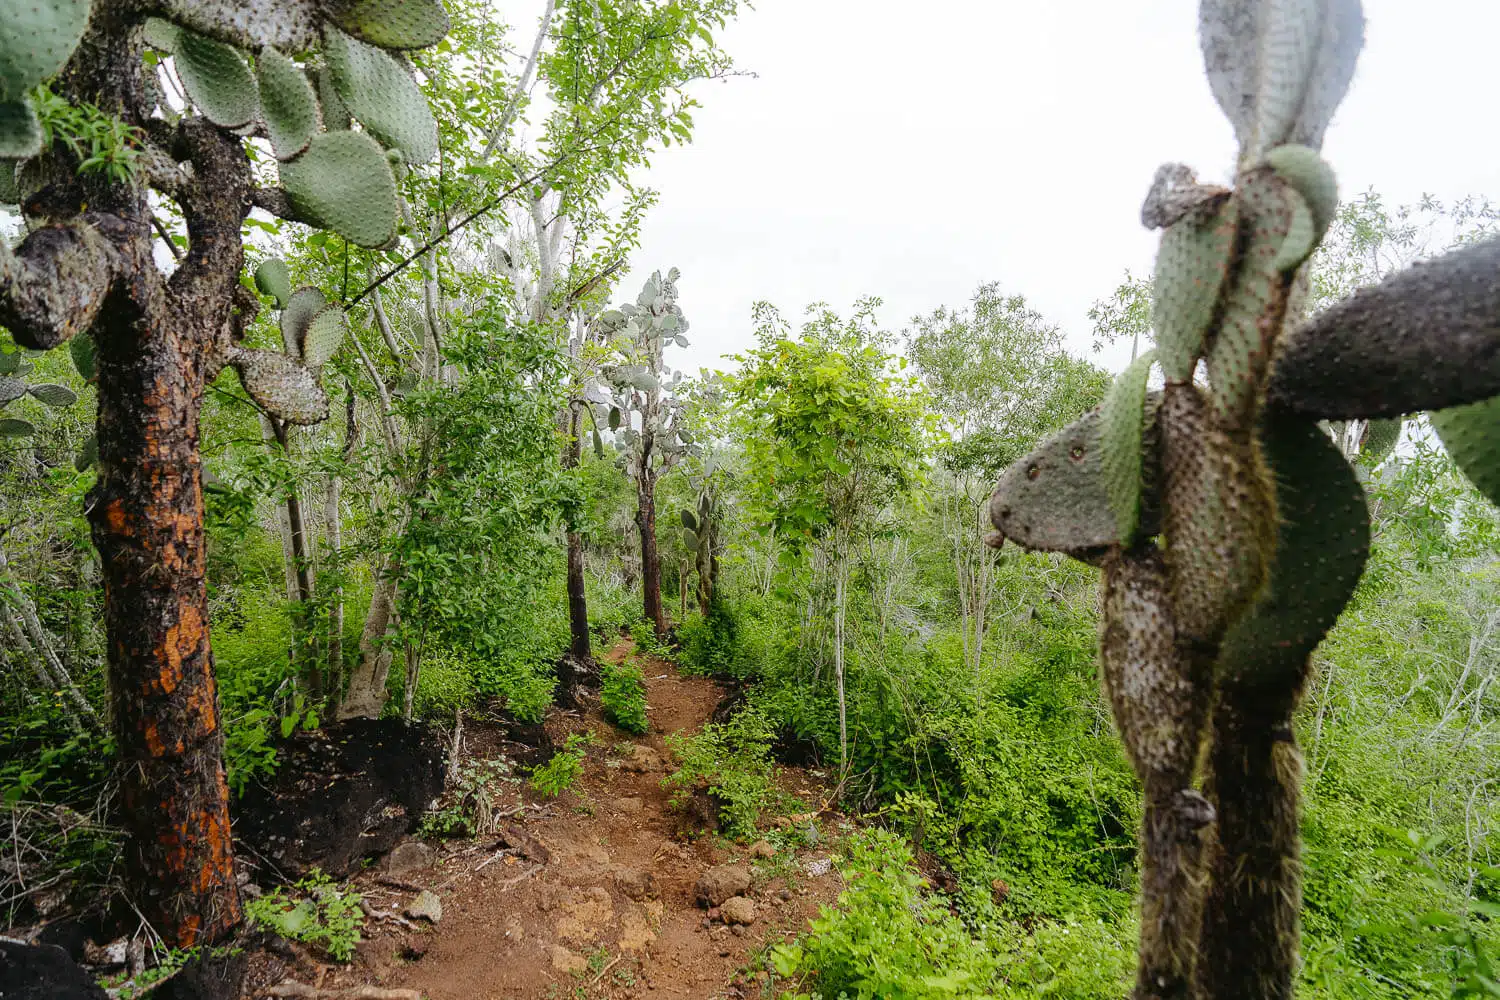
- Difficulty: Easy-Moderate. The hardest thing about this trail is that you have to do it after arriving at the Wall of Tears which will already tire you a bit. The path is well marked and with steps, handles, and covered areas.
- Incline: 65m of ascent and 65m of descent.
- Altitude: 60m (lowest point) at the Wall of Tears and 125m (highest point) at the El Radar Viewpoint.
- Recommendations: Bring waterproof shoes or shoes with a good grip, a waterproof jacket, a bottle of water, snacks, sunscreen, and a hat. If you do the bike ride, don’t forget to ask for a repair kit and pump at the store.
How To Go to El Radar Viewpoint?
It’s relatively easy to reach El Radar Viewpoint. You have first nevertheless to reach the Wall of Tears since the hike starts from there.
You just need to rent a bike in Puerto Villamil town and ride for around 12 minutes alongside the beach until you reach the entrance of the Humedales park. Then you need to drive for 45 more minutes until you reach the Wall.
Alternatively, you can walk all the way through or rent a taxi to leave you at the entrance of the park and then walk. The taxis can also take your bikes in the trunk.
What to Bring to El Radar Viewpoint?
Clothing & Accessories:
- Tshirt: Breathable Tshirt (Tech or Merino), or a Lycra
- Jacket: Waterproof Jacket
- Shorts: Shorts
- Shoes: Hiking Shoes
- Hat: Cap
- Sunglasses
- Earth Pak Waterproof Dry Bag
- Change of Clothes
Useful Extras:
- GoPro/Camera
- First-Aid Kit
- Mosquito Repellent
- Sunscreen +50 SPF
- Food / Snacks
- Thermos or Water-filtering Bottle
Check out my complete guide on What’s in My Backpack – From photography gear, and clothing for Hiking, Mountaineering, Scuba Diving, Rainforest, and City-Street Photography.
My Experience on the El Radar Viewpoint Hike
This was my third day on Isabela Island and I did this hike together with a friend after reaching the Wall of Tears by bike.
To start the ride we rented some bikes in front of our hotel on Antonio Gil avenue and started cycling our way to the Wall of Tears.
The Wall of Tears Viewpoint
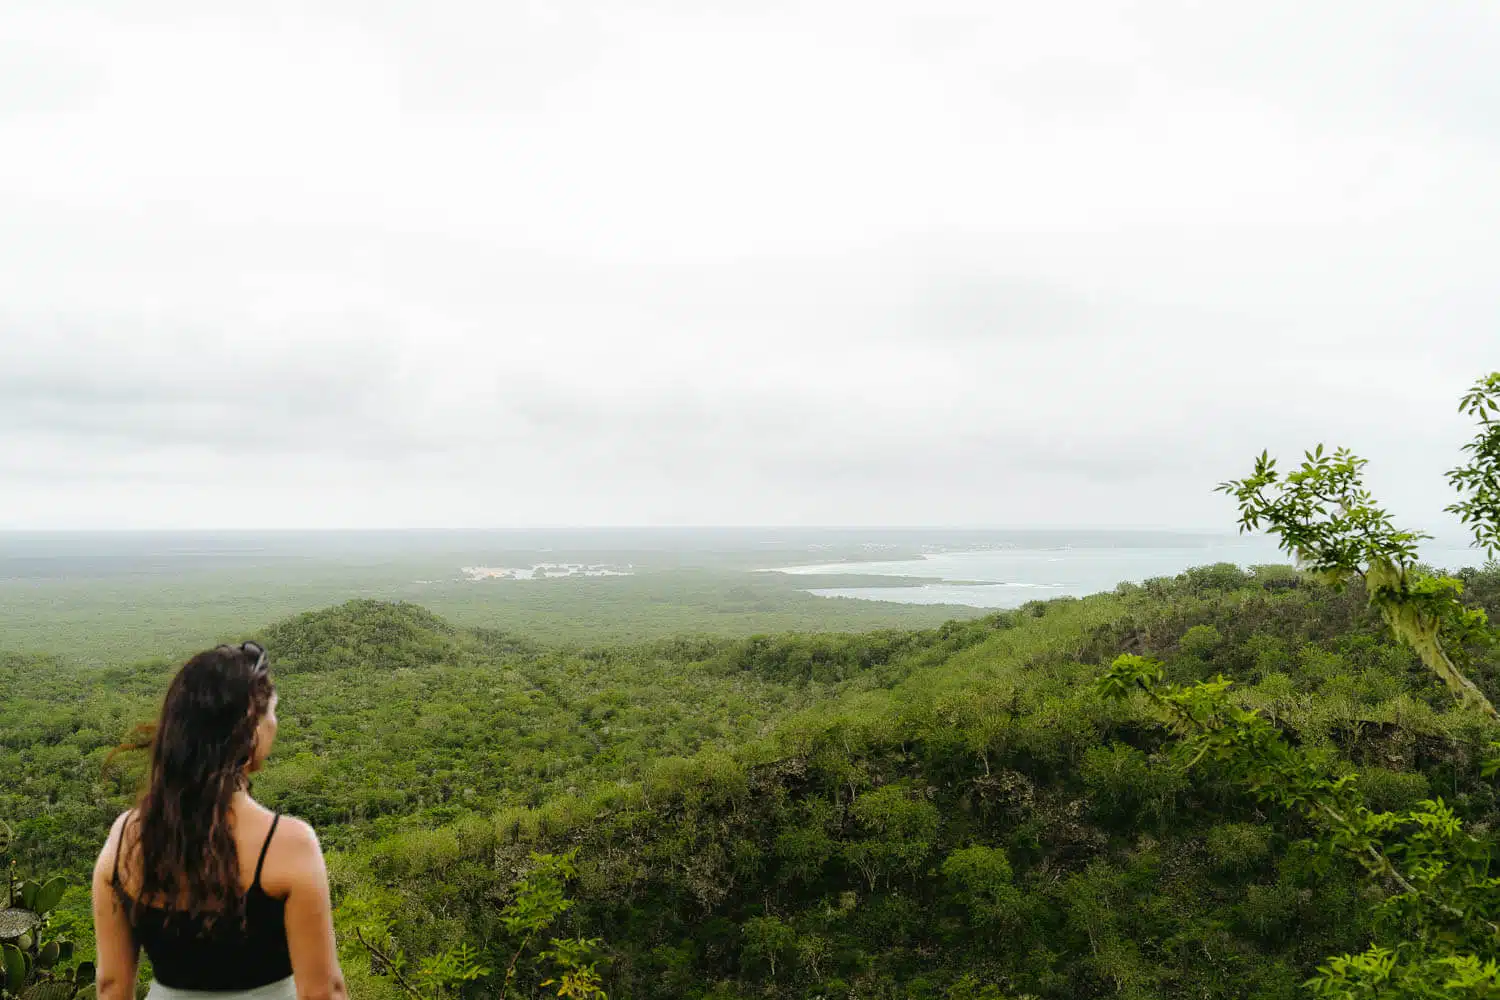
Once we started climbing up the Wall of Tears we walked around 100 m and reached the first viewpoint which has an amazing view of Puerto Villamil and the surroundings.
From there we could already see the next part of the hike on the hill in front so after some posing and modeling we got ourselves a snack and moved on.
It’s a very beautiful place but be careful with the weather, it changes quite fast, and on the return route, we got ourselves completely soaked in a massive rainfall.
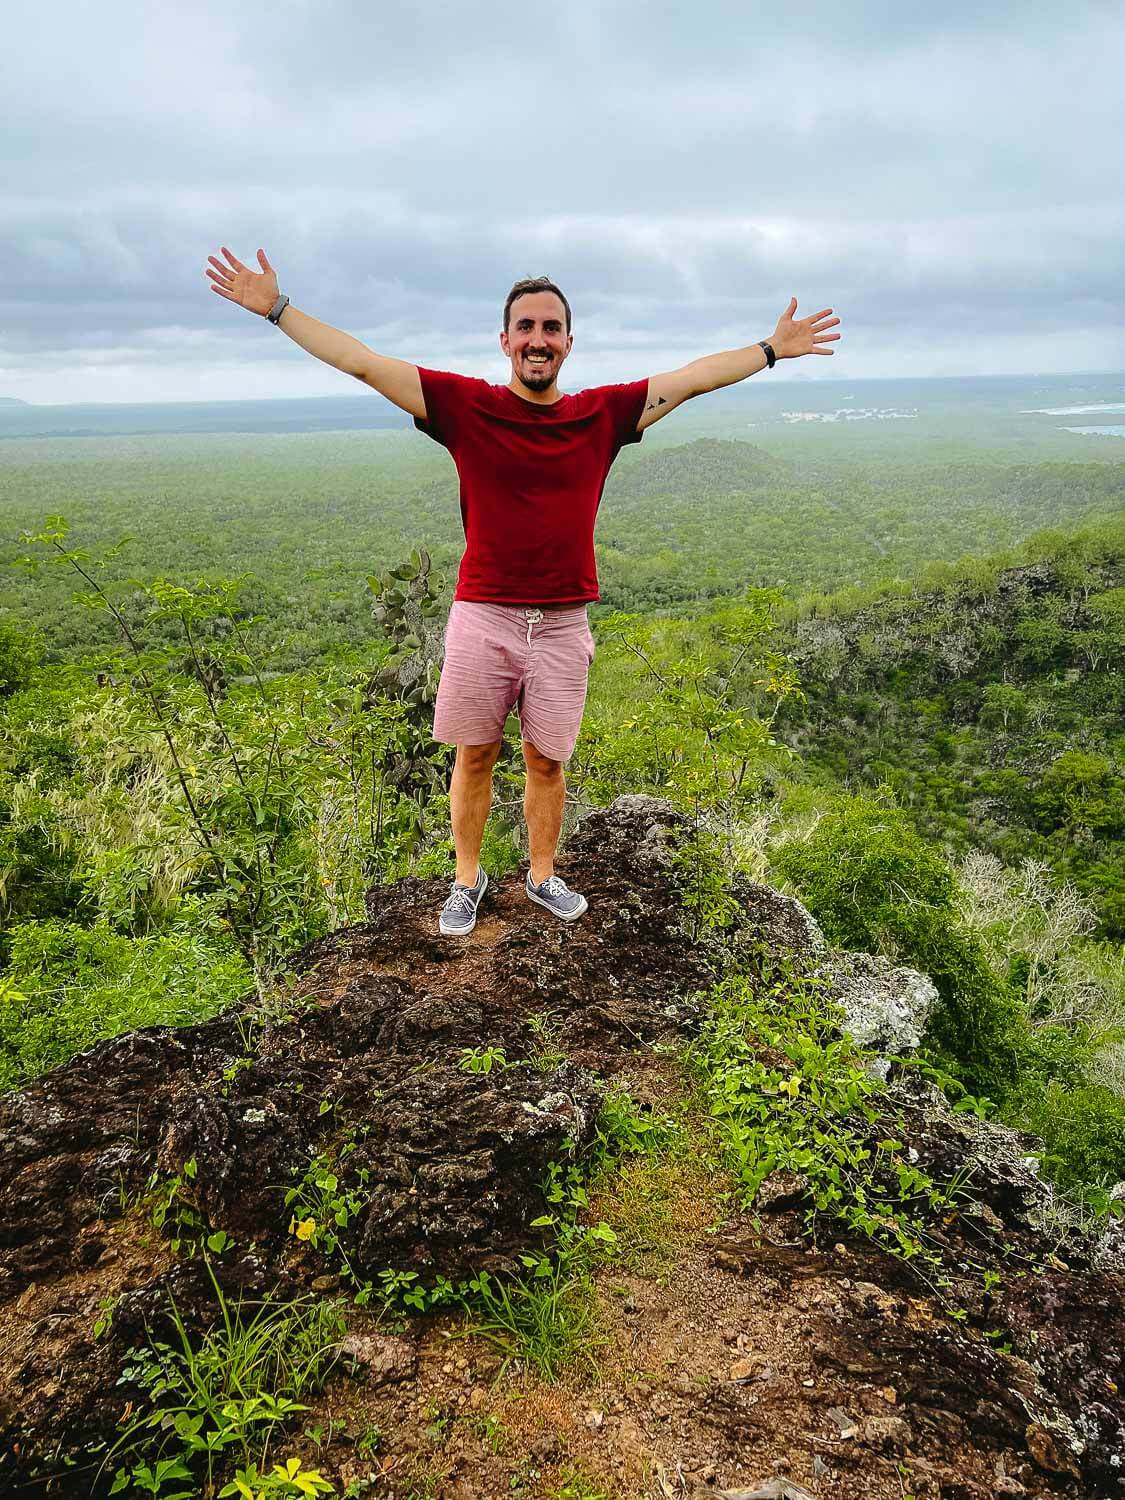
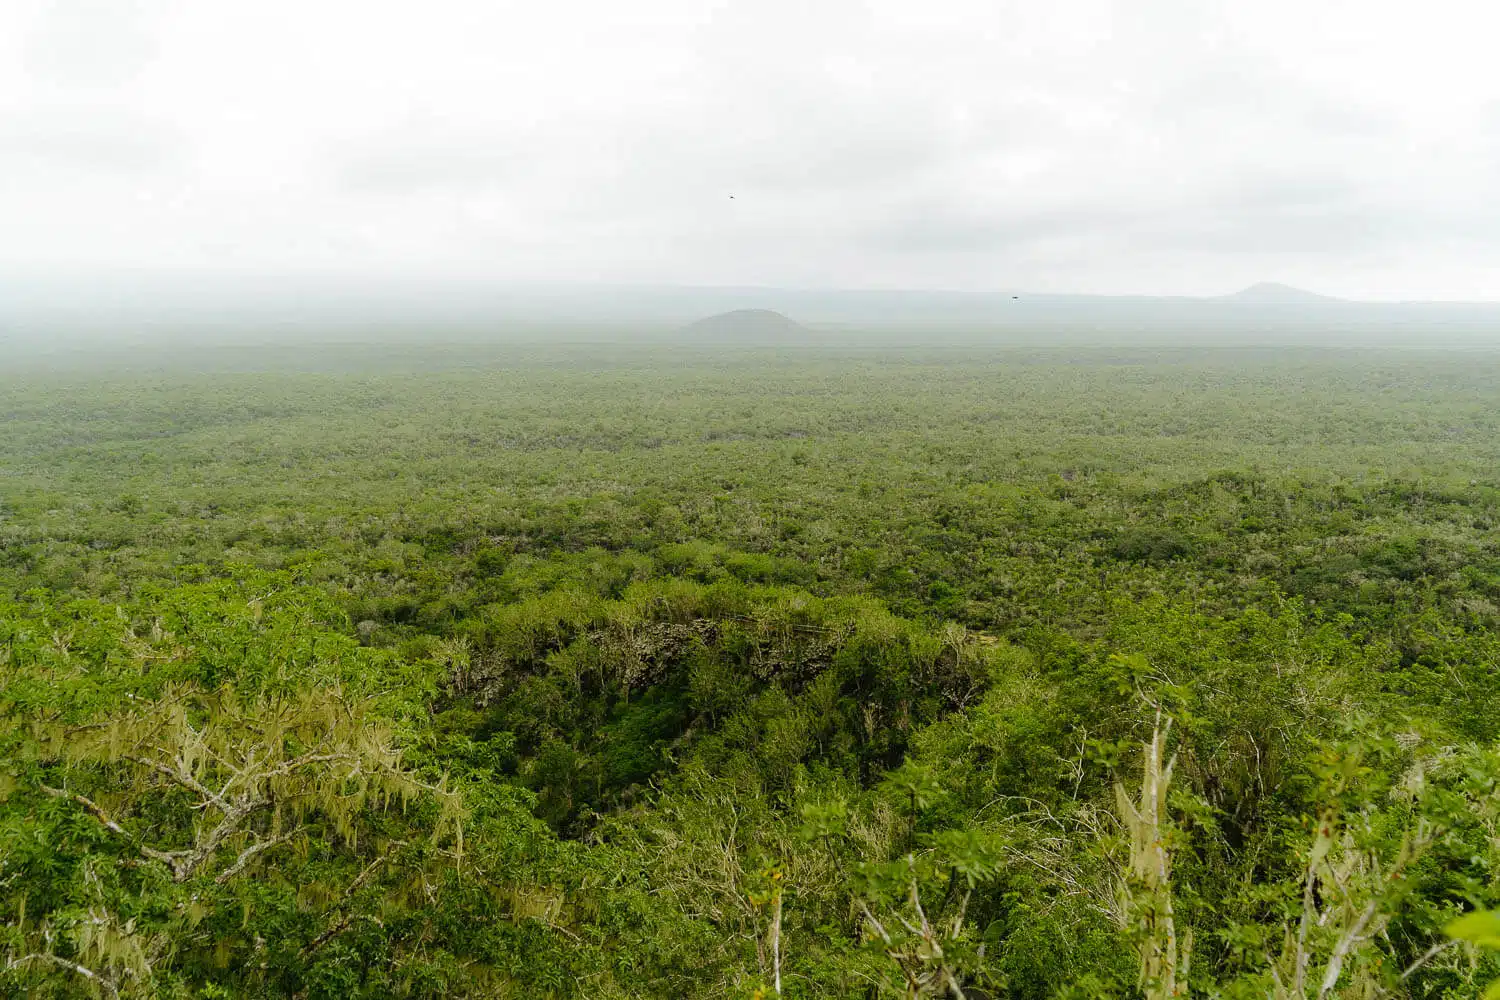
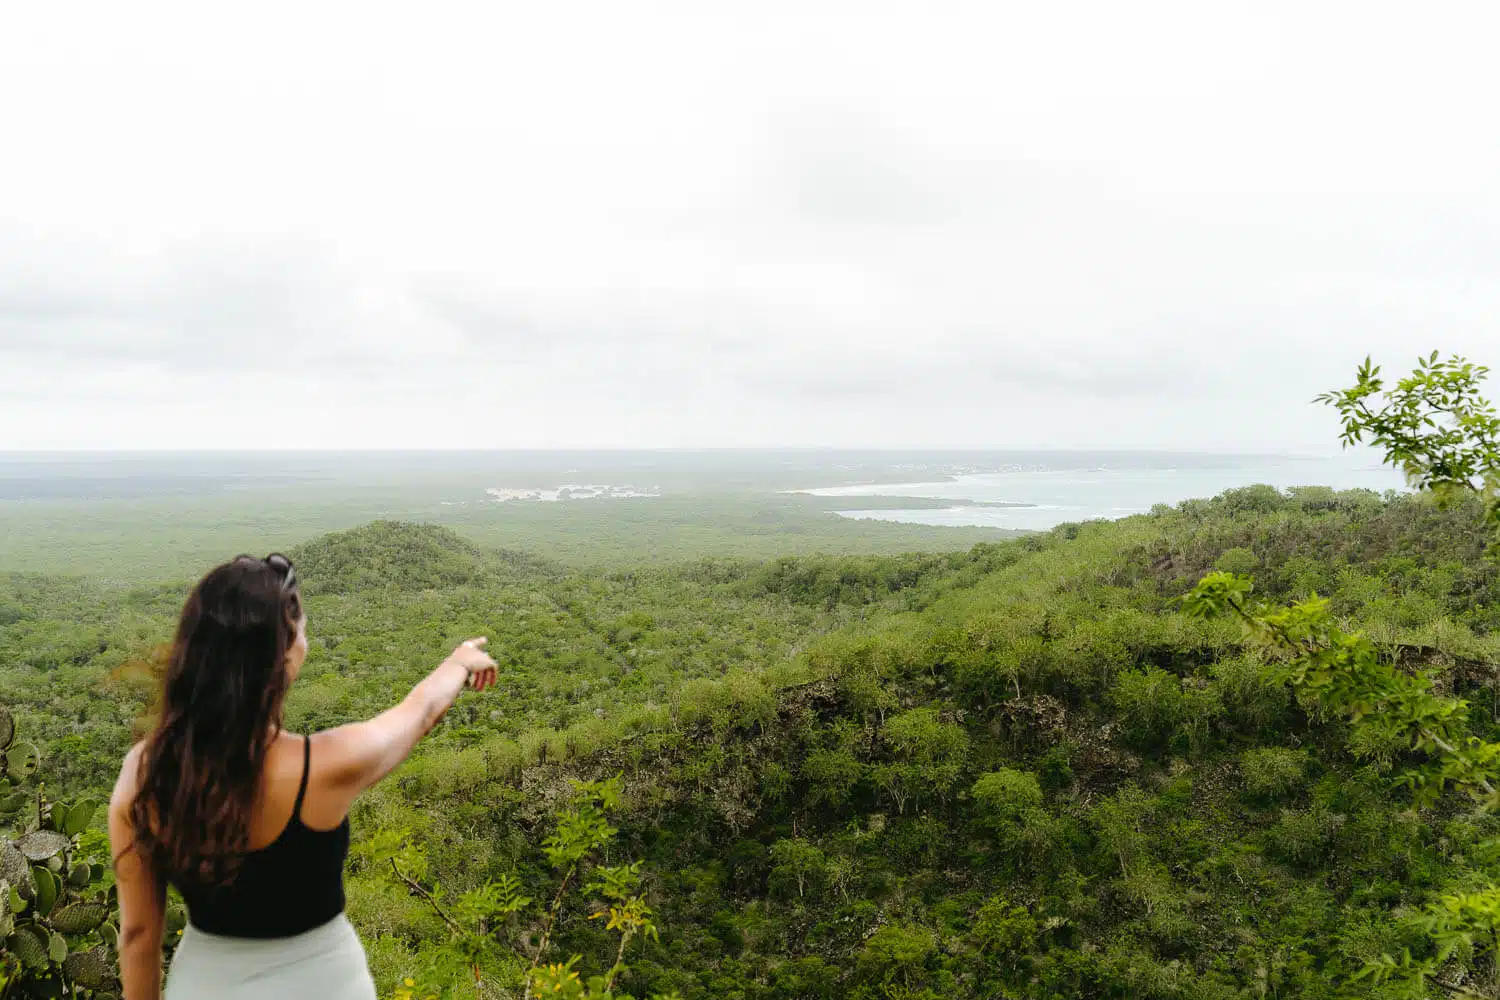
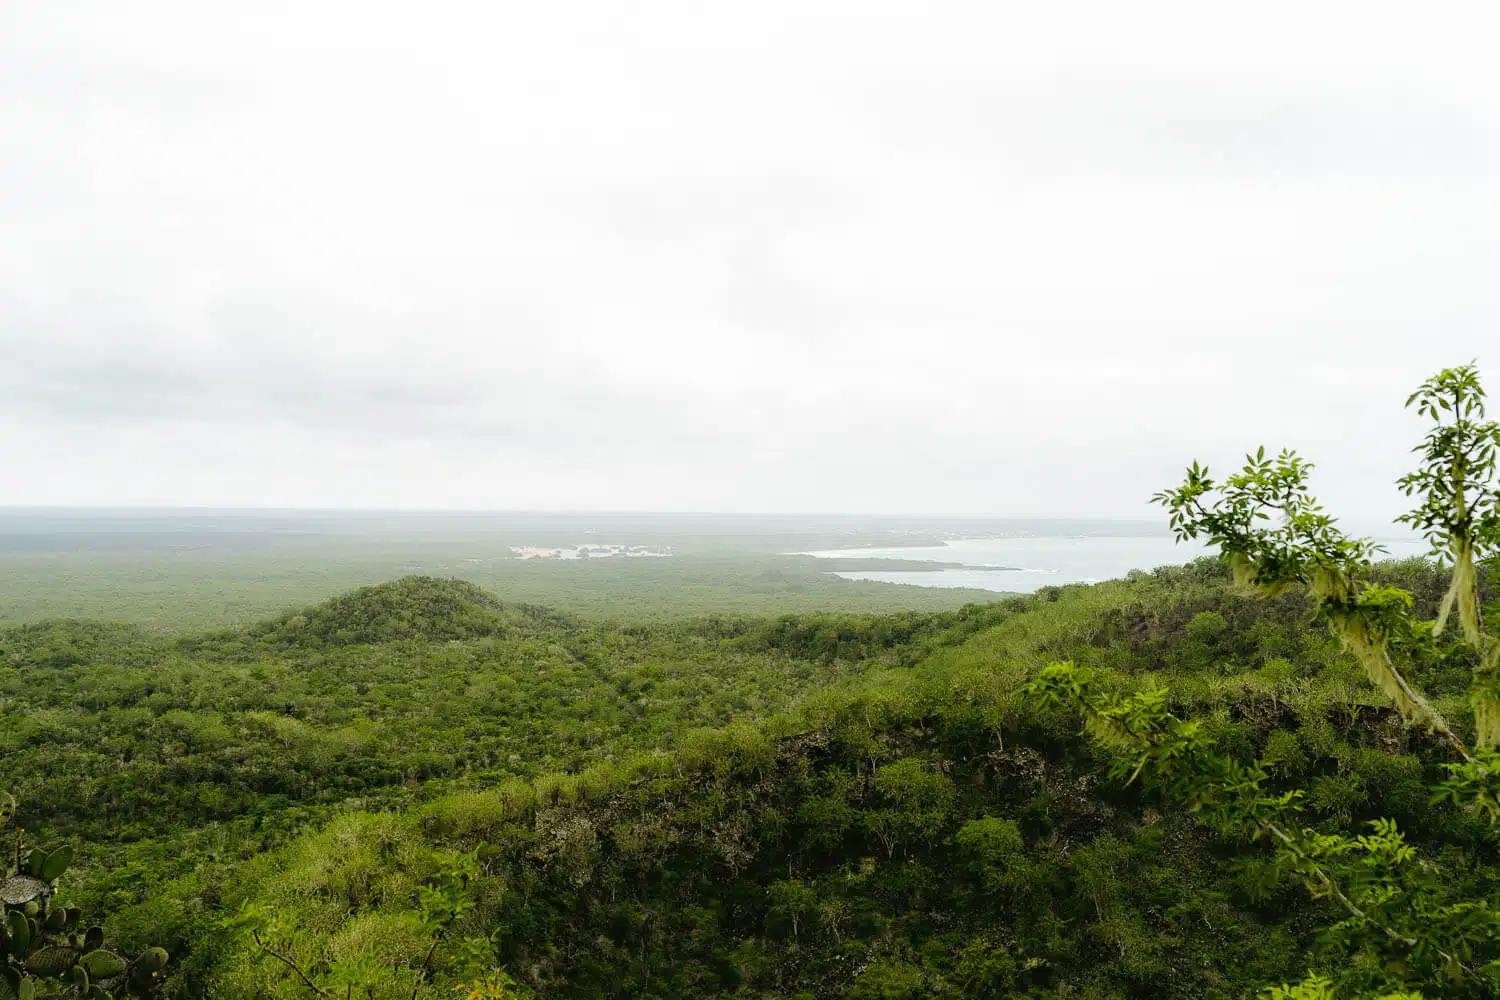
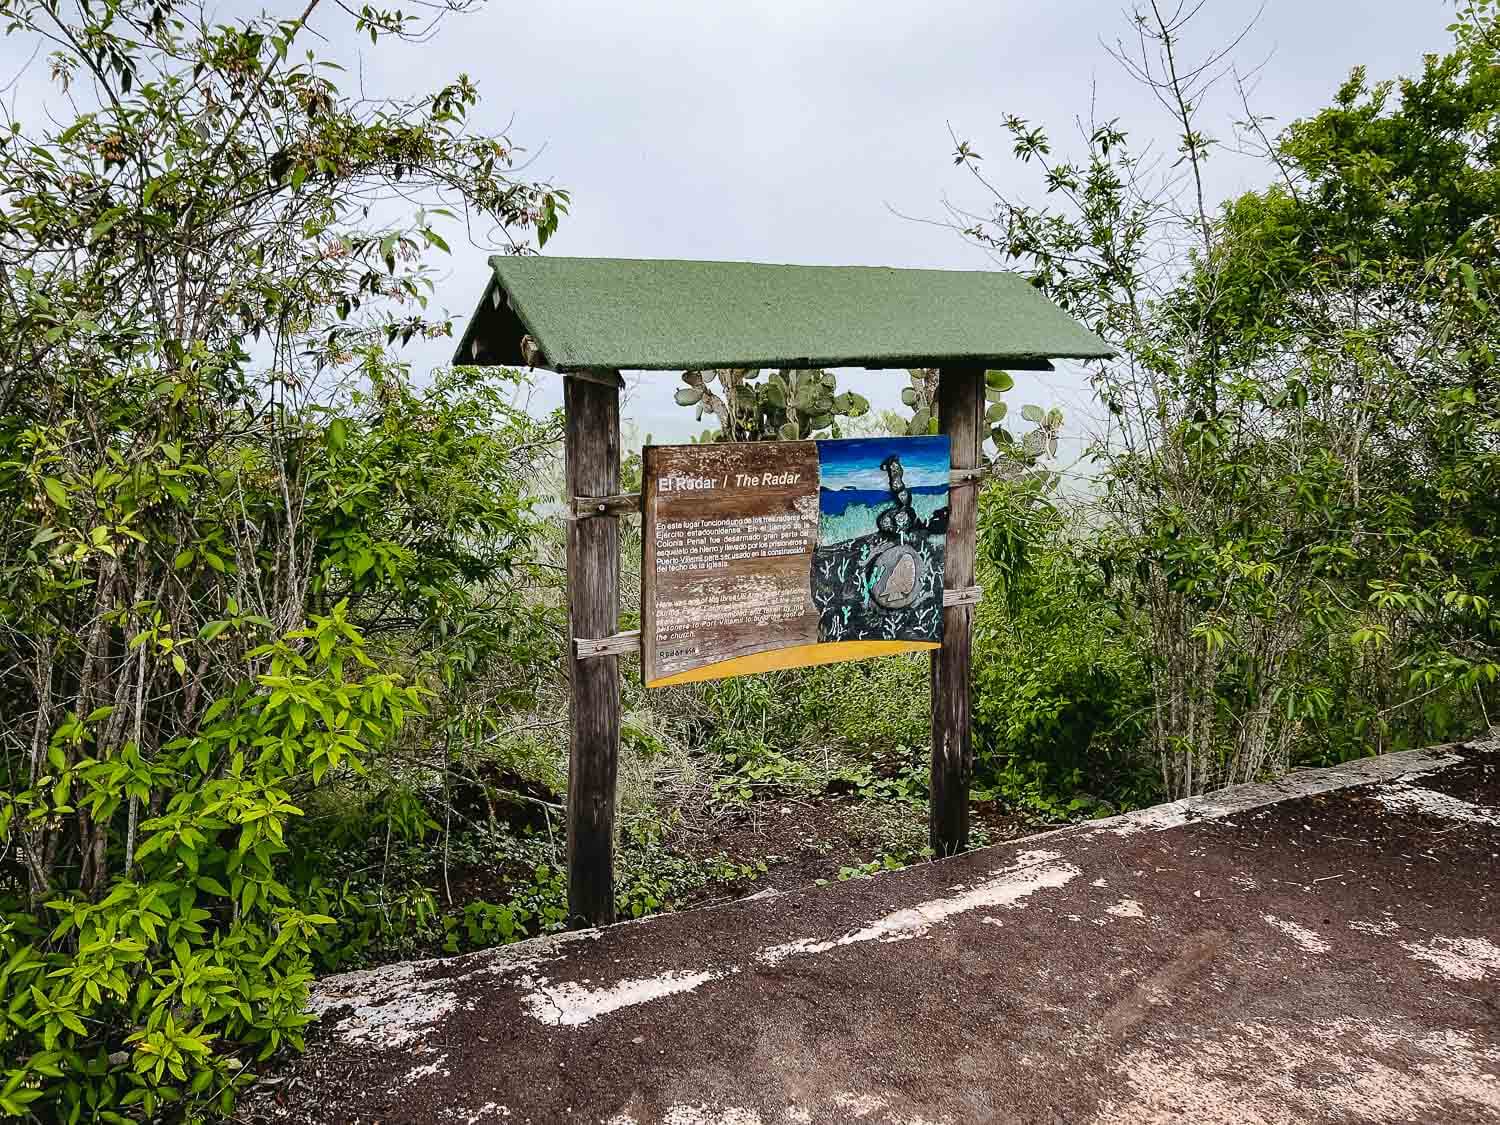
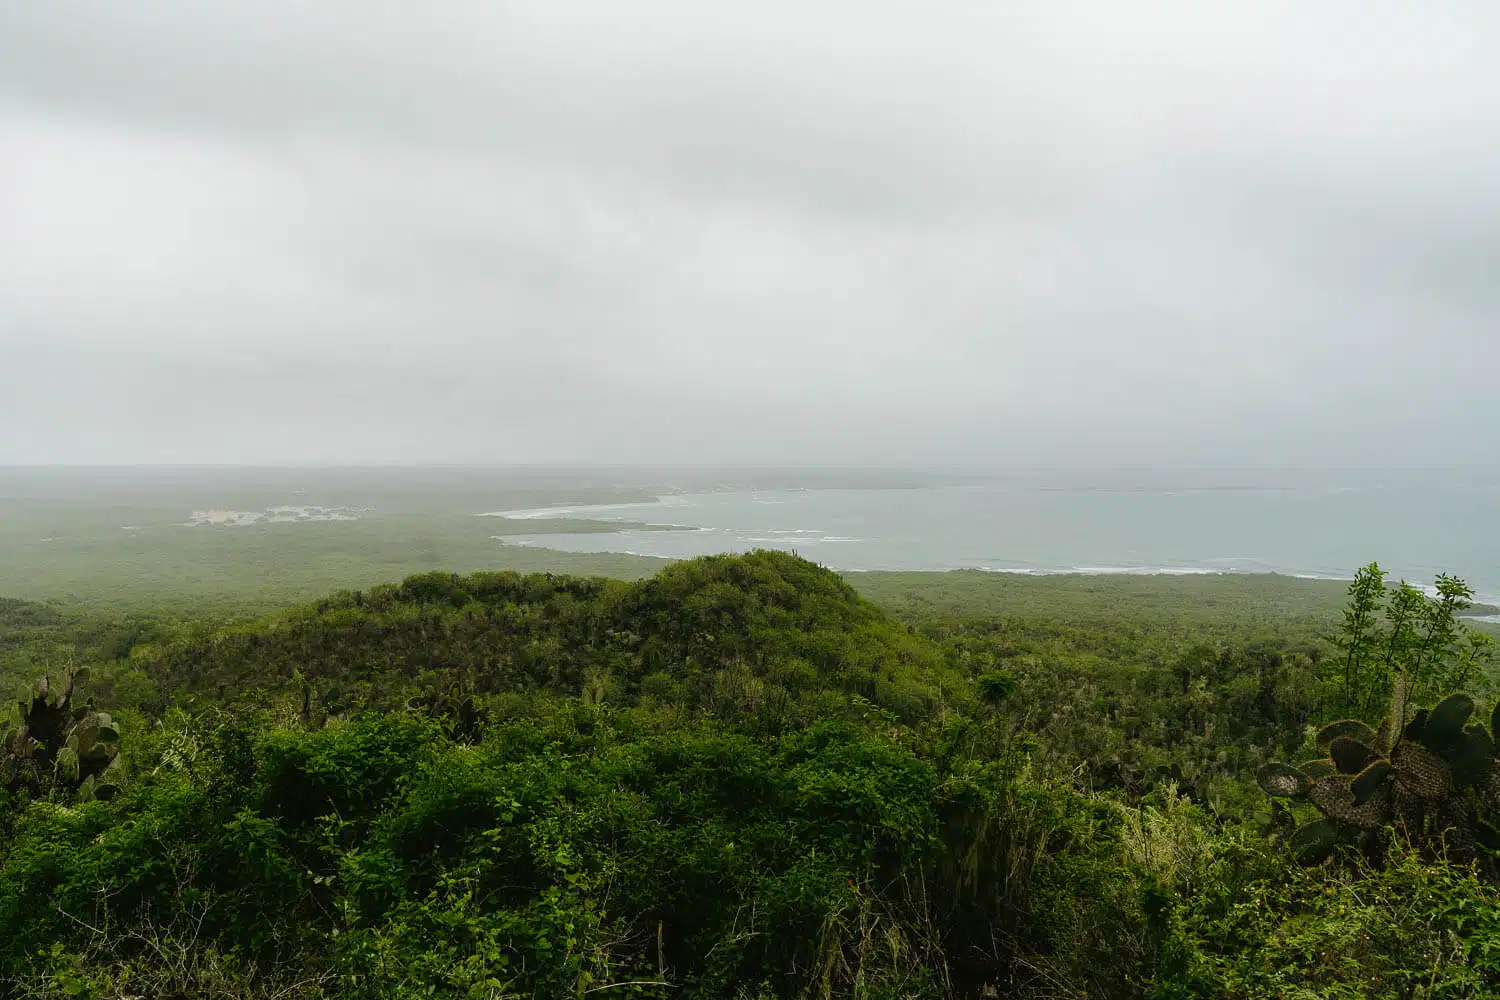
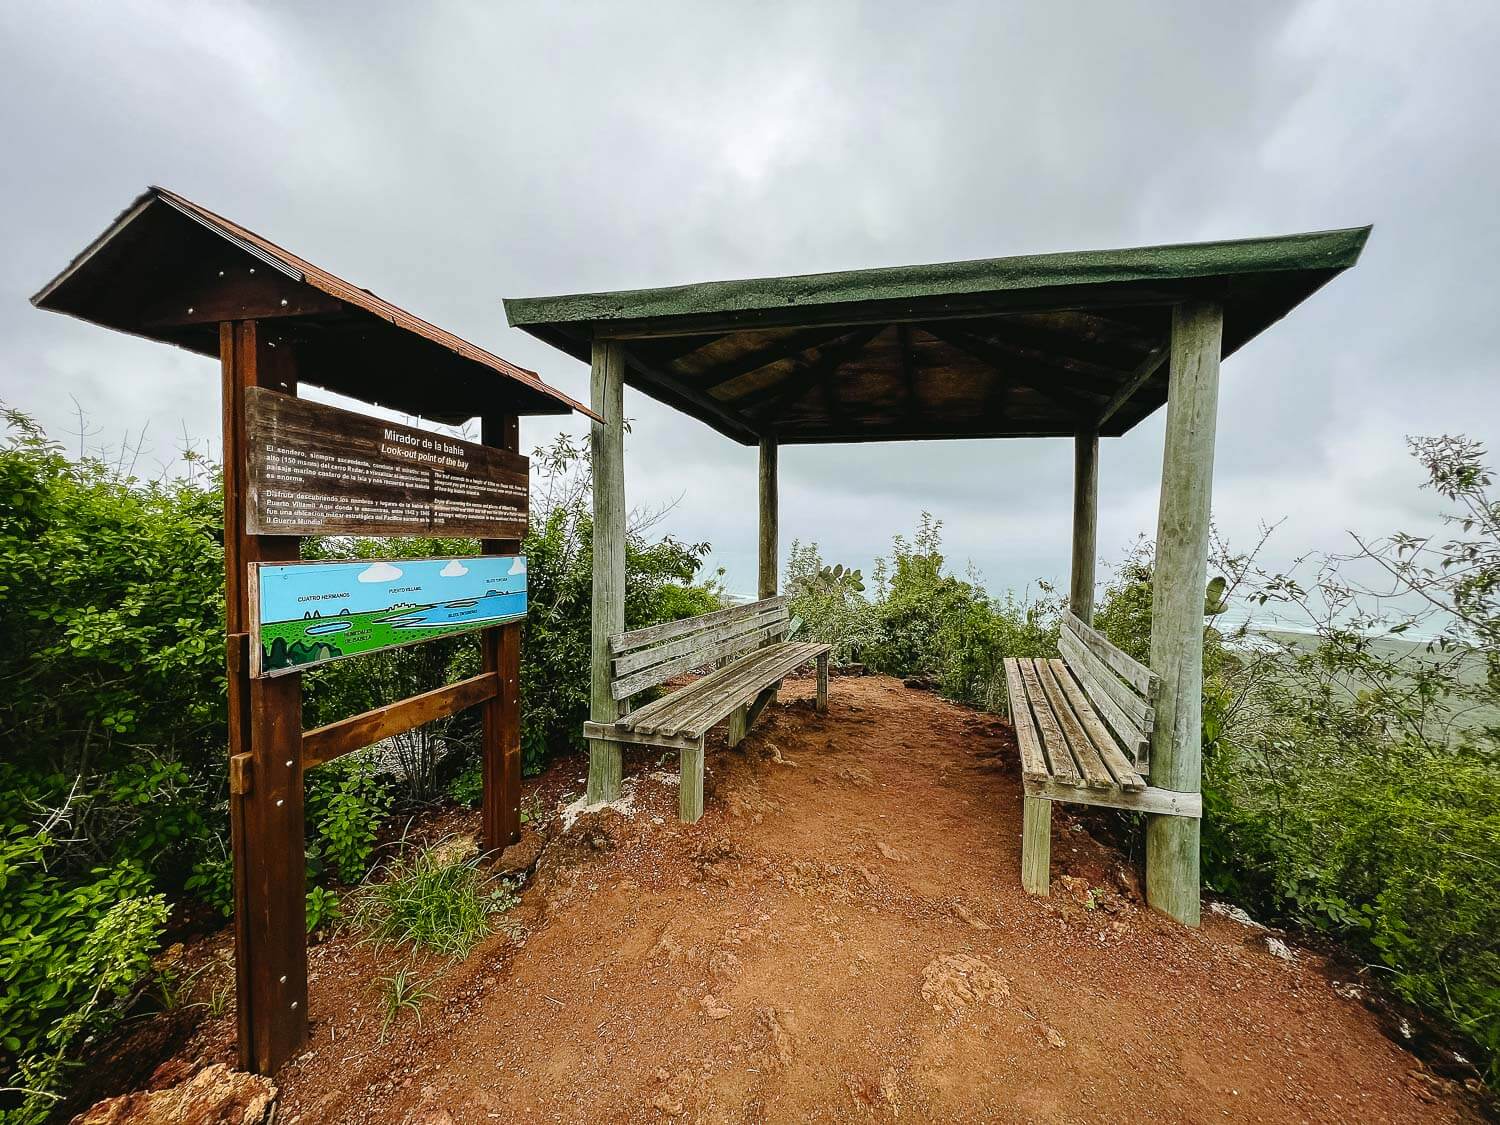
El Radar Viewpoint, The Bay Viewpoint, and Back Home
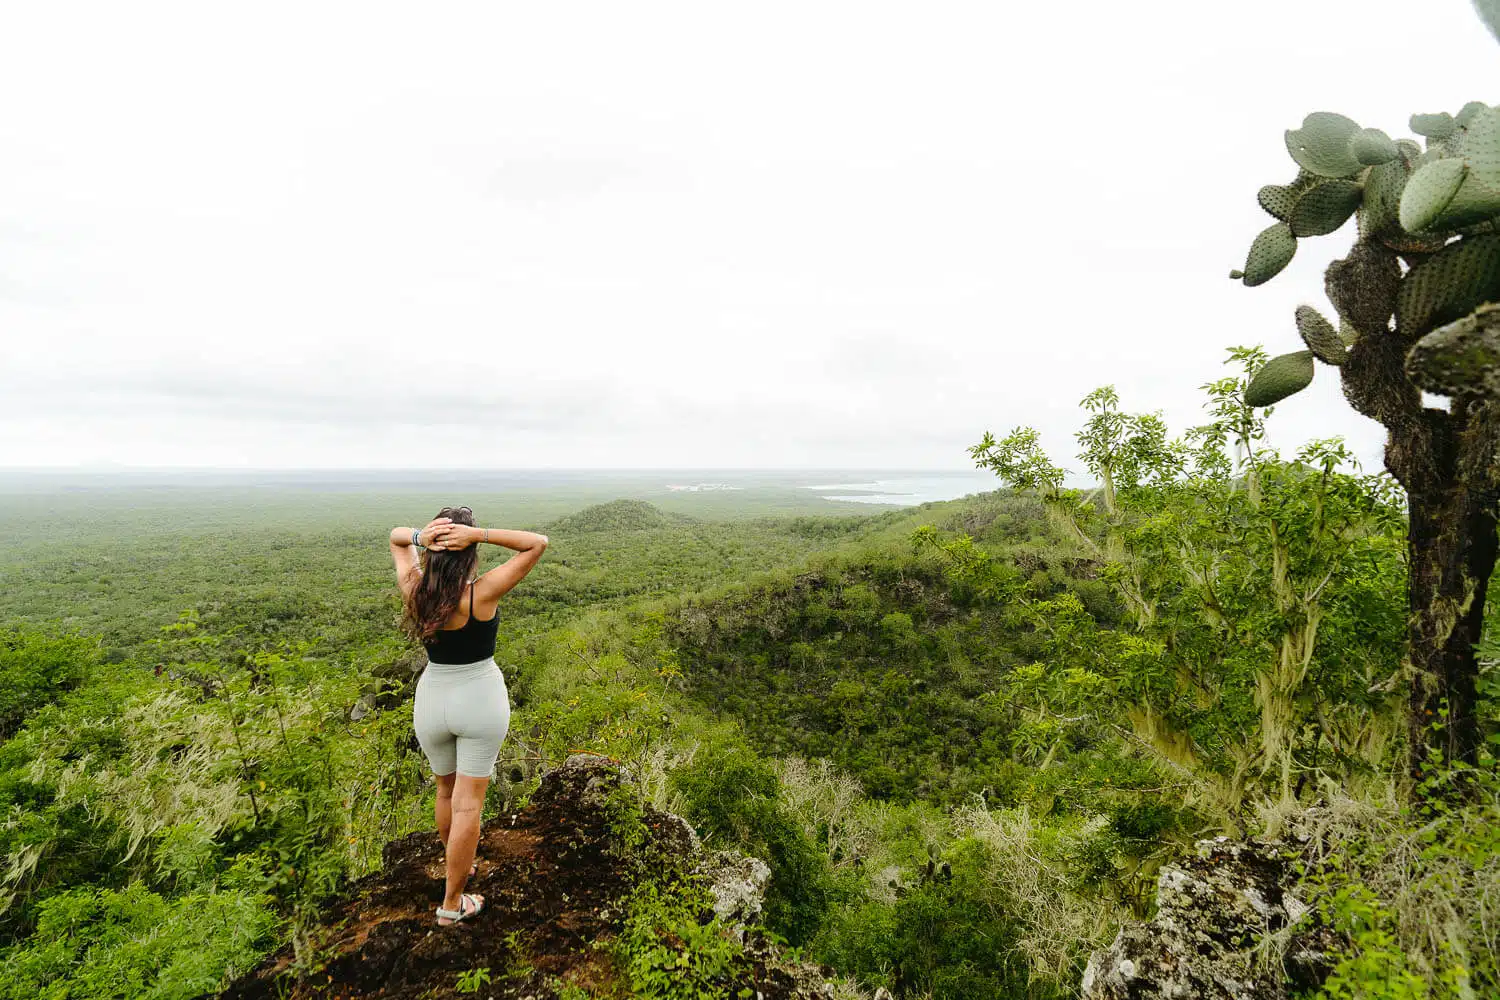
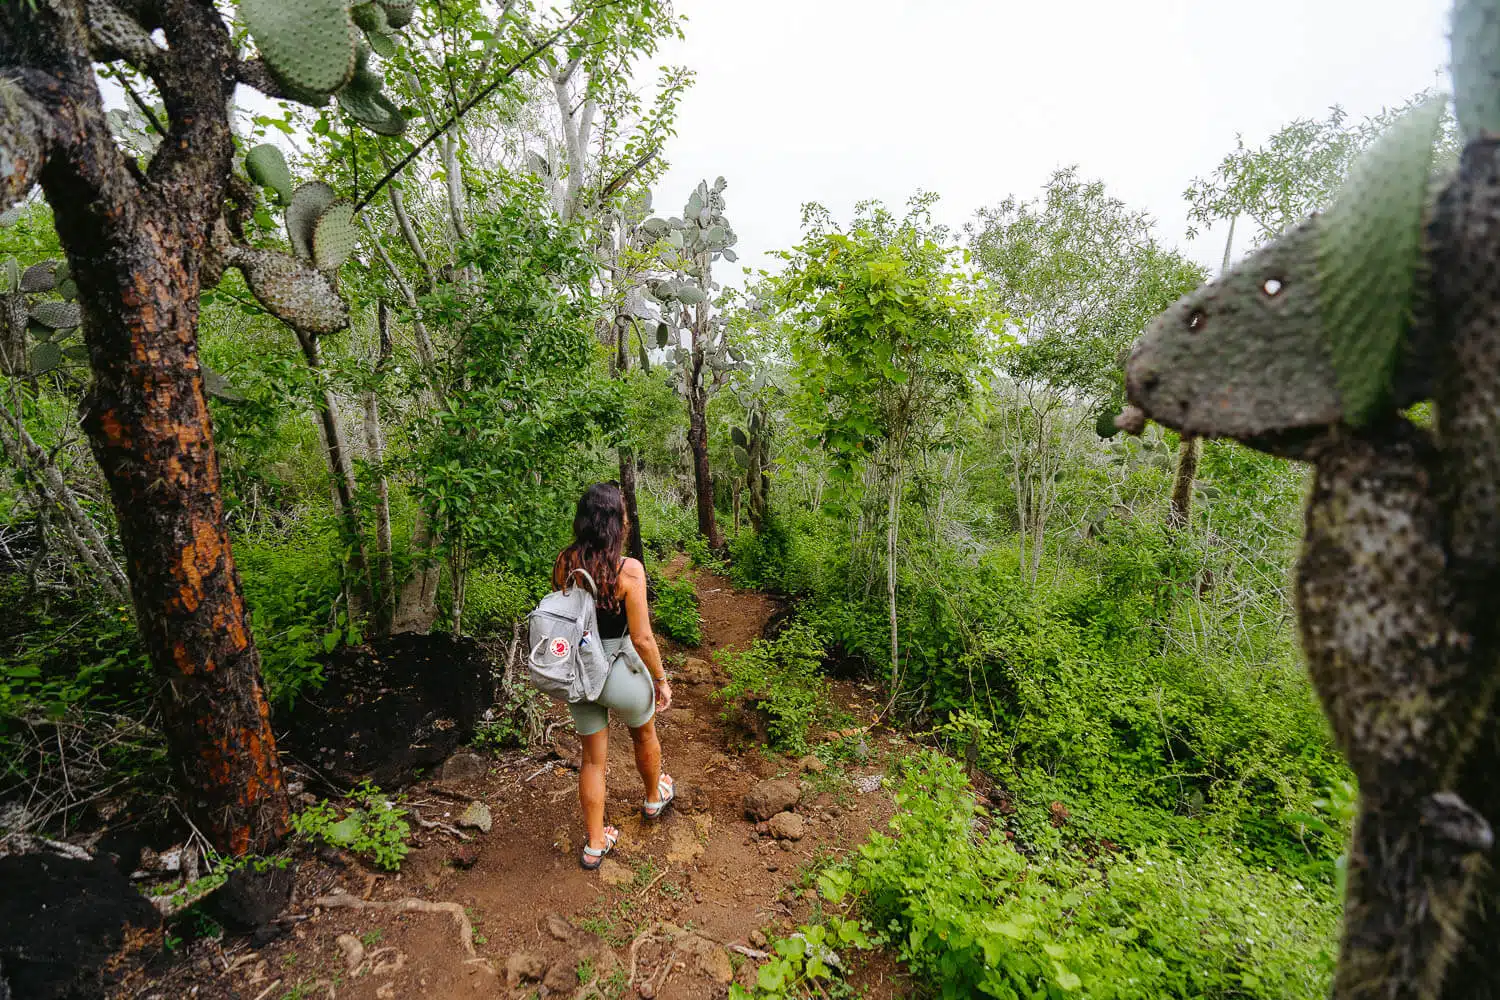
From the Wall of Tears’s viewpoint, we started walking to El Radar’s viewpoint.
On the way, there is another smaller viewpoint with a covered area where we stopped briefly cause it was about to rain and we moved on fast to the Radar viewpoint.
We walked around 600m in total from the first viewpoint to the last one.
It is a really short hike and a very rewarding one. We, unfortunately, got bad weather so we couldn’t completely see much at the distance but it was worth it. It’s hard to find a hike on the Galápagos where you don’t need to pay or that it’s not part of a tour.
On our way back to town after the hike, it started pouring rain, and after walking soaked for around 10 minutes a friendly tourist stopped by and let us fill our tires with his mini pump and we temporarily fixed the front tire with a fishing line holding it all together.
Once we got to the parking lot we called for a taxi and we took the bikes to the store right on time to deliver them.
And that’s about it for the El Radar Viewpoint hike, because of the weather, unfortunately, we didn’t have the chance to visit the El Estero mangroves and El Amor beach.
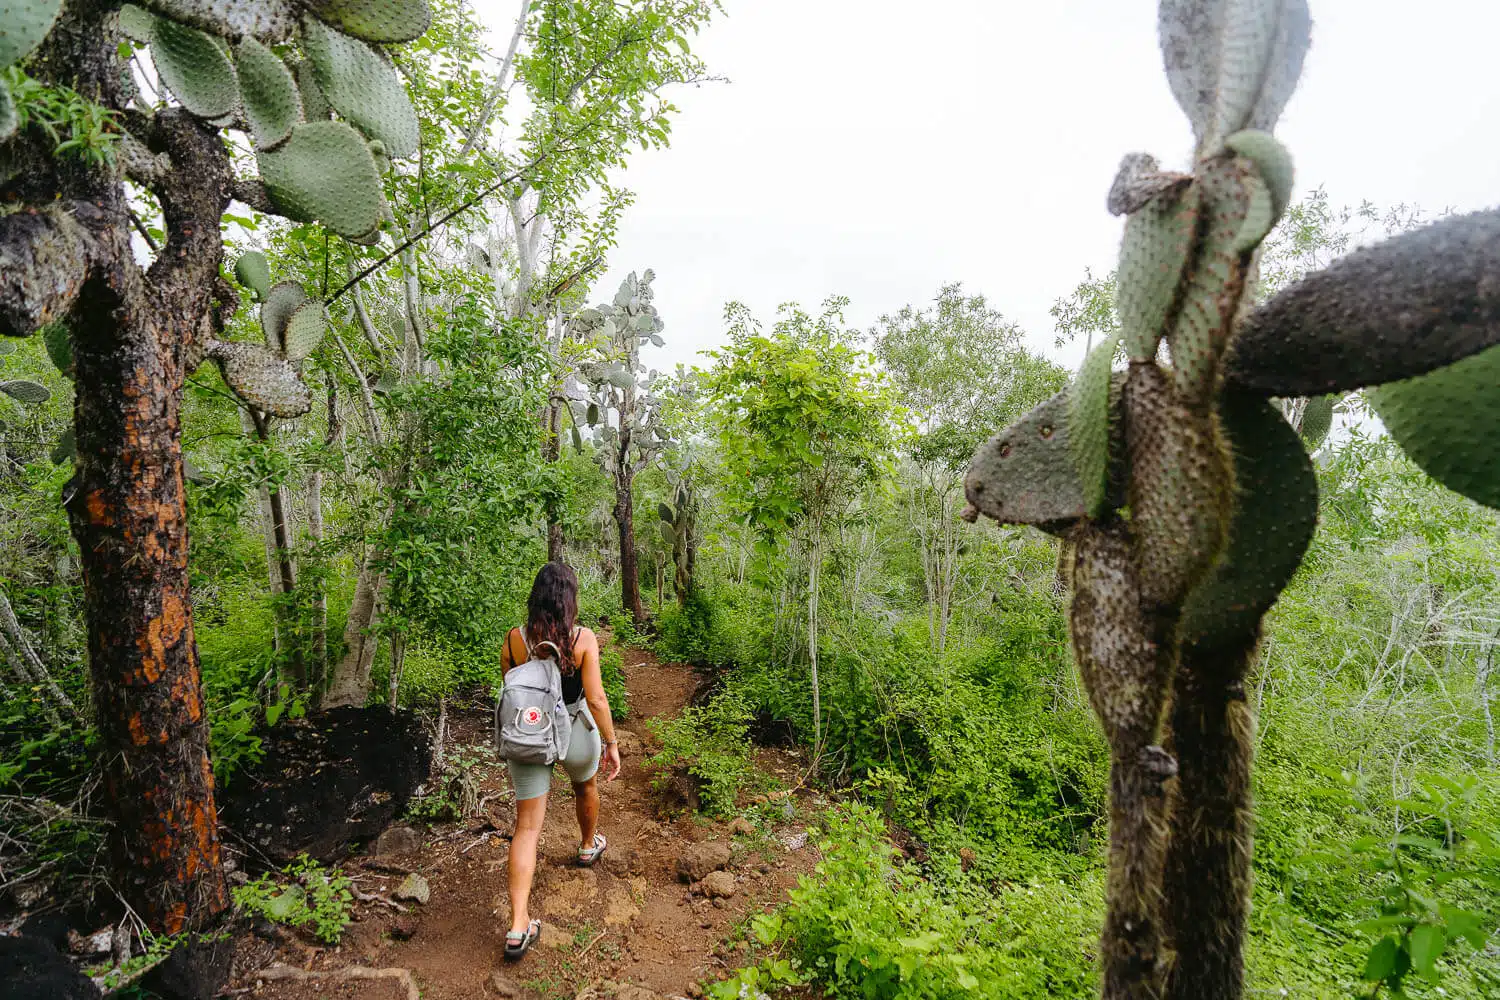
What about you, have you already been to El Radar Viewpoint? Leave me a comment down here if you have and what was your opinion.
Thanks for reading through and I hope you have fun there.
I’ll drop a couple of my other favorite photos from this place down below, enjoy!
Photo Gallery
The Wall of Tears Viewpoint
El Radar Viewpoint, The Bay Viewpoint, and Back Home
Plan your next adventure with us!
Here are the links we use and recommend to plan your trip easily and safely. You won’t pay more, and you’ll help keep the blog running!
Adventures in Sri Lanka - The Ancient Ceylon
Explore The Galapagos Islands
Hiking in Switzerland & Italy
The Hidden Worlds of Ecuador
ABOUT ME
I’m João Petersen, an explorer at heart, travel leader, and the creator of The Portuguese Traveler. Adventure tourism has always been my passion, and my goal is to turn my blog into a go-to resource for outdoor enthusiasts. Over the past few years, I’ve dedicated myself to exploring remote destinations, breathtaking landscapes, and fascinating cultures, sharing my experiences through a mix of storytelling and photography.
SUBSCRIBE
Don’t Miss Out! Be the first to know when I share new adventures—sign up for The Portuguese Traveler newsletter!
MEMBER OF
RECENT POSTS
COMMUNITY
GUIDES
Need help planning? Get our interactive Ecuador and Galapagos guides with curated itineraries. Learn more…
RELATED POSTS
TRAVEL INSURANCE
Lost luggage, missed flights, or medical emergencies – can you afford the risk? For peace of mind, I always trust Heymondo Travel Insurance.
Get 5% off your insurance with my link!


